Openers · Woolwich
Photo-Eye Sensor Alignment or Replacement
After a cold night the door stays open until the garage warms up.
In plain words
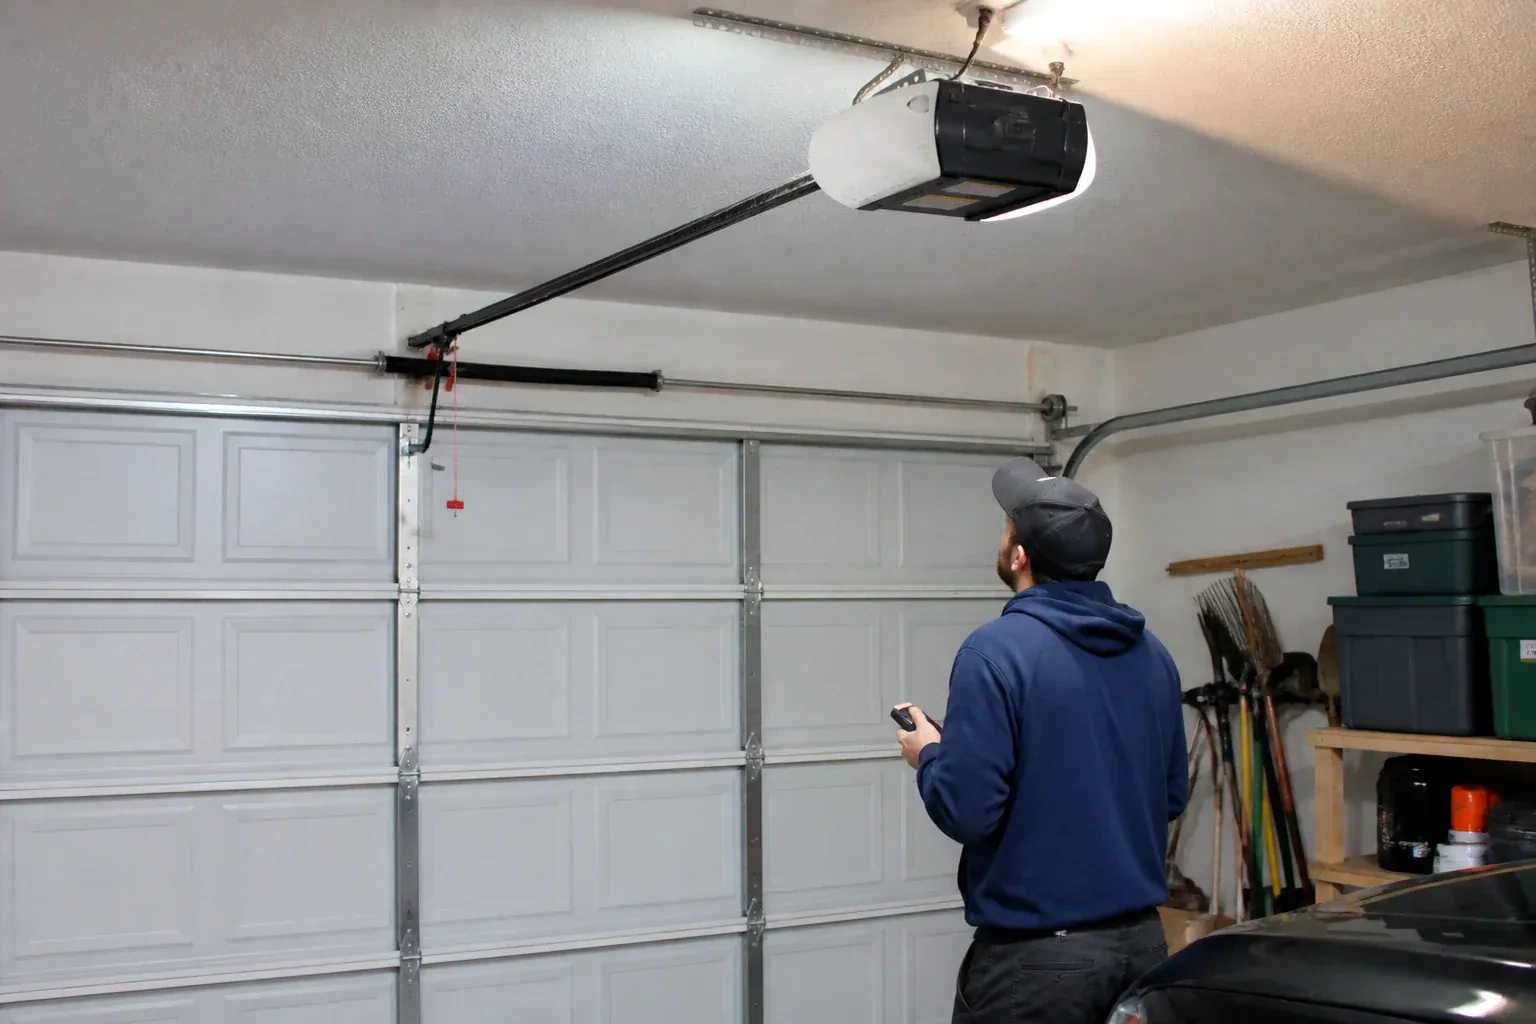
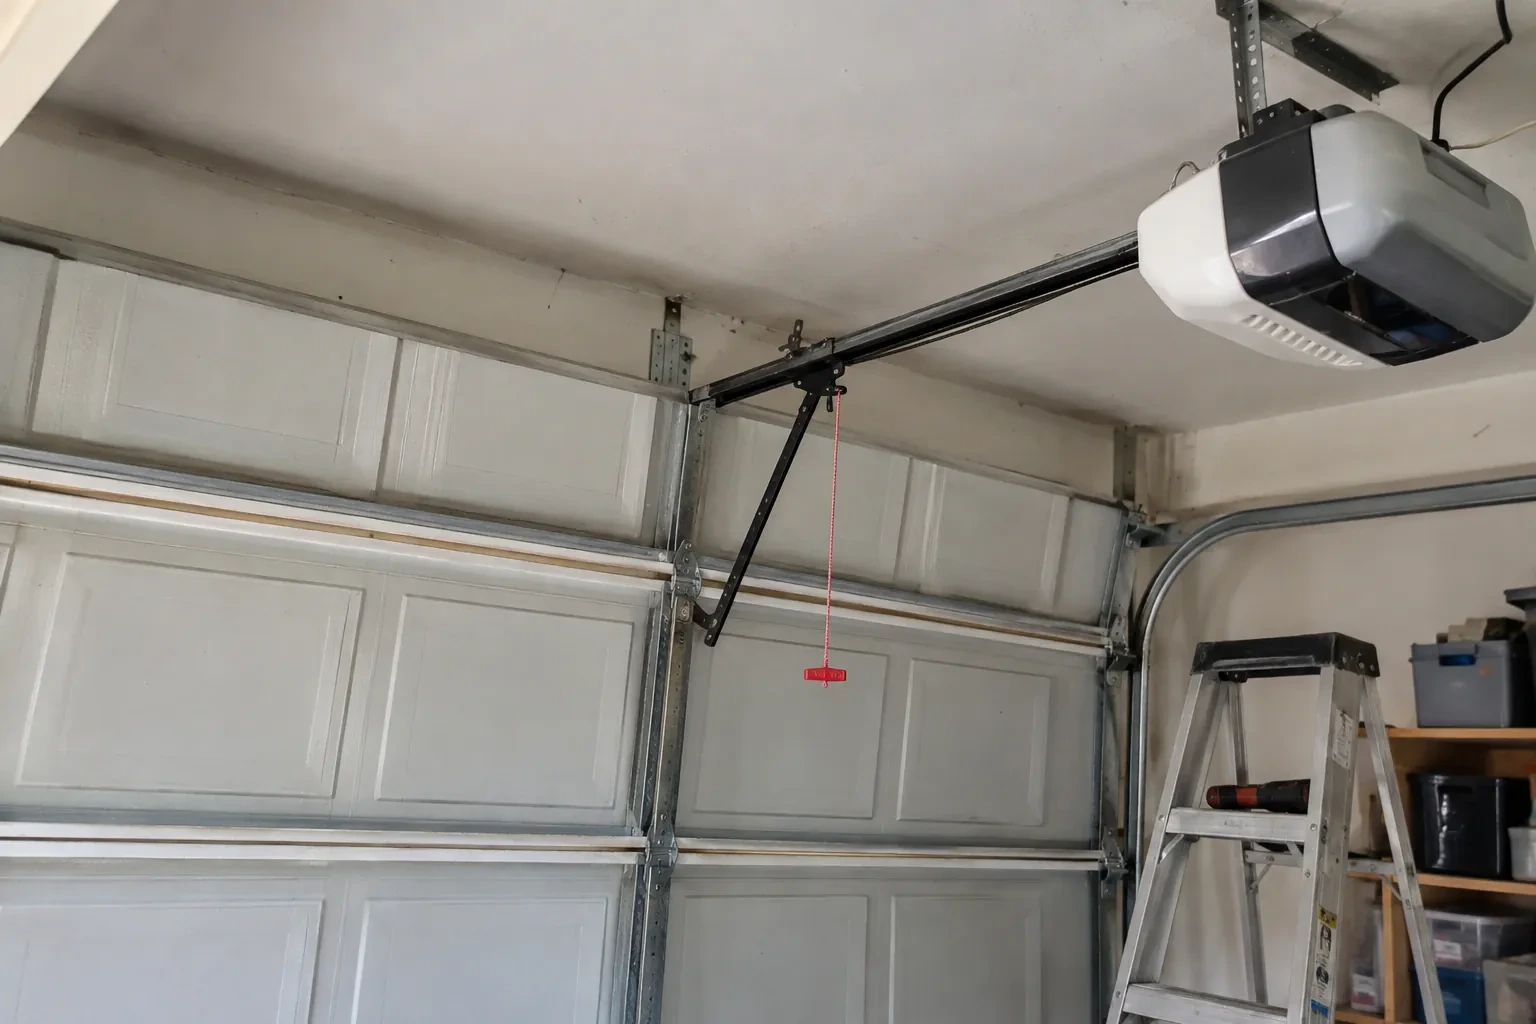
If your opener has no sensors at the floor, that alone does not date it, since a pair can be missing, removed or never reconnected; the technician identifies the model before deciding whether a pair can be restored or the operator itself needs replacing. The visit is still worth making: the technician tests contact reversal and sets out what a modern operator brings, including a matched sensor pair, force reversal and a monitored circuit that holds the door open until the beam clears. Where sensors are present but tucked up beside the motor, they are returned to the doorway where they belong.
How the visit goesThere are no sensors at the floor at all, or a previous owner has wired the pair together up beside the motor so the beam never crosses the doorway. A home inspector has just pointed it out.
Photo-Eye Sensor Alignment or Replacement
How the visit goes
Starting with the story
The first minutes are spent listening. What does the door do when close is pressed: drop and bounce, stay put, or close only while the wall button is held? Does the opener light blink, and how many times? When did it start, and what changed around then: a car bumped the track, a storm, shelving went up, the garage was reorganised, the first frost arrived? Does it happen at all hours or only on bright mornings? Those answers usually point at one of a handful of causes before a single tool comes out, and they decide whether the technician heads for the brackets, the wire or the head unit first.
Dealing with the sun
A receiver that looks into the low sun is fixed by geometry. The simplest cure is to swap the two sensors side to side so the receiver looks away from the doorway light and the sending eye, which is not affected, takes the sunny position. Where the layout rules that out, a small hood or shade is fitted over the receiving lens, deep enough to shield it without narrowing the beam path. The wiring is extended or re-routed as needed and both lights are checked at the time of day the fault used to appear, or with a strong light aimed at the lens to stand in for the sun.
The monthly beam test
The habit worth keeping takes about a minute. Once a month, with the door open, press close on the wall control and, as it moves down, pass a broom handle through the beam near the floor. The door should stop and climb back to fully open. Then lay a 2x4 flat under the middle of the door and close onto it; the door should touch it and reverse. If either test fails, stop using the opener; close the door first if it is not already closed, then use the manual release, and get help moving it by hand if it feels heavy or will not hold. A door that passes both tests is doing its job.
Photo-Eye Sensor Alignment or Replacement
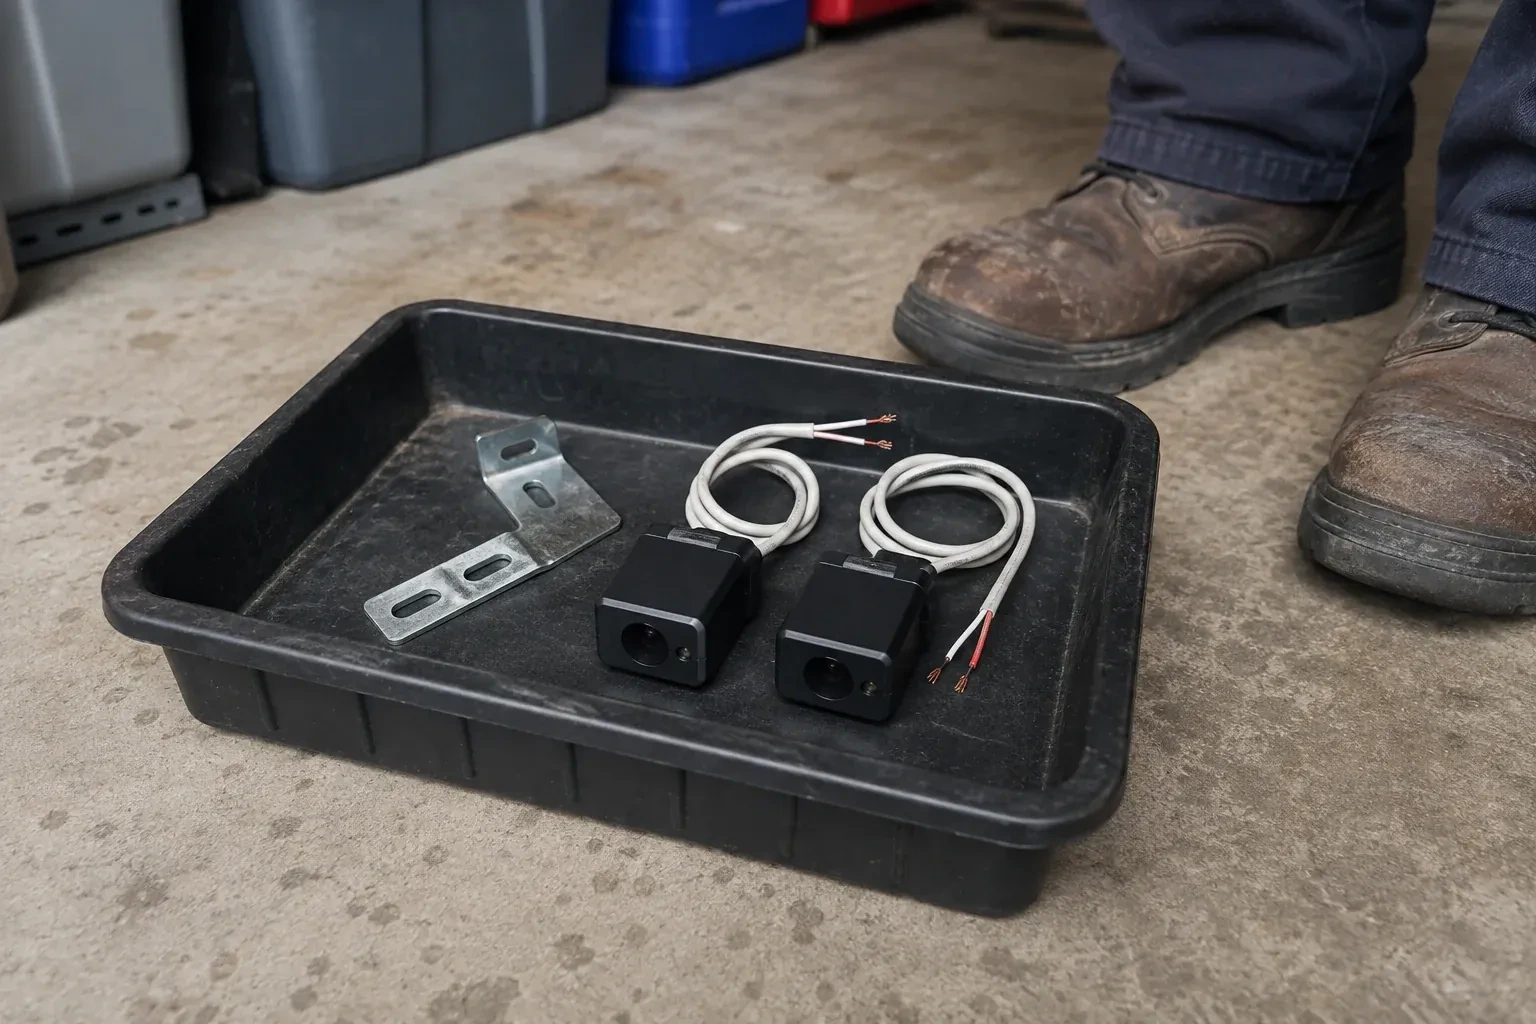
In the van
Multimeter
Insulated wire staples
Wall or floor angle brackets
Receiving-eye sun shade
Wire connectors
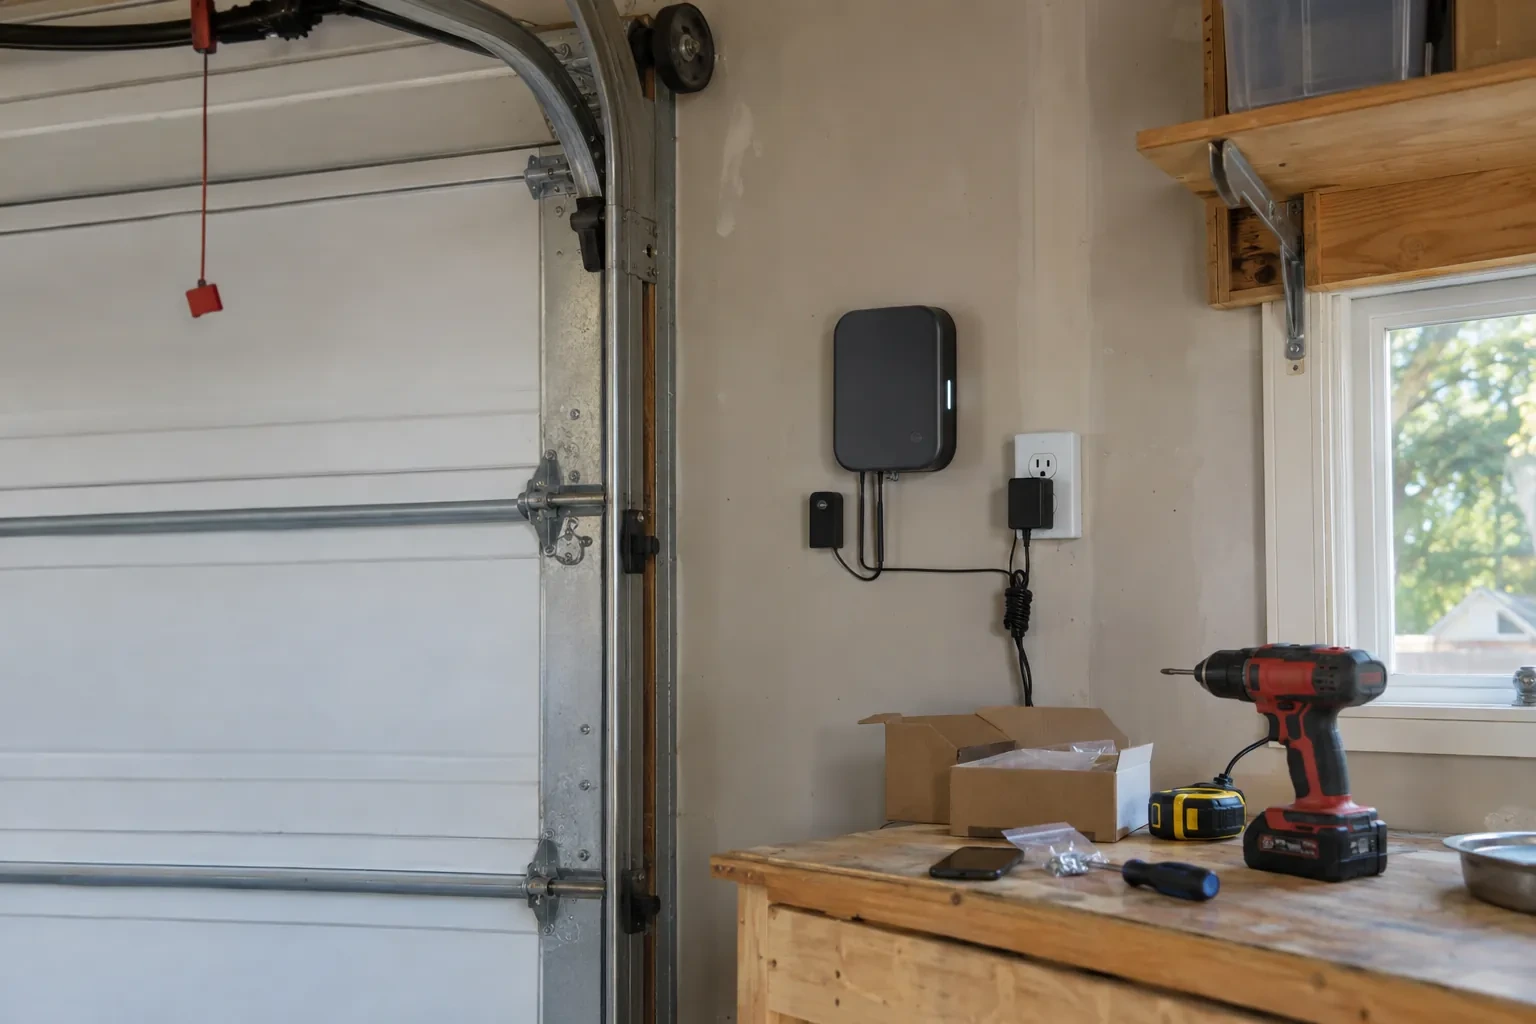
Photo-Eye Sensor Alignment or Replacement
What affects the quote
Number of doors
Each opener has its own sensor pair and wire run, so a double garage with two doors is two sets of checks, two possible pairs and two rounds of testing, quoted per door.
Access to the doorway and the head unit
A clear strip along the floor and a reachable head unit make for a direct job. Shelving, vehicles or stored goods that must be moved to reach the sensors, wire or terminals add time.
Wall or floor mounting with anchors
Mounting into concrete or masonry rather than onto the track means drilling, anchors and sealing against water, which takes more time than clipping to the rail.
What to have ready
- Can you send photographs of both sensors, the head unit label and the wall control?
- Does the opener light flash when you press close, and how many times?
- Can you see the thin sensor wire, and does any of it look pinched, cut or chewed?
Photo-Eye Sensor Alignment or Replacement: questions
QuestionsCould the wiring be the problem rather than the sensors?
Frequently. The sensors are fed by a thin two-conductor wire from the head unit that crosses the ceiling and drops down both sides of the door, and it is pierced by staples, cut by shelving screws, chewed by mice or pulled from its terminals more often than a sensor fails. Both sensor lights dark, or an opener code for an open or reversed circuit, points to the wire. The technician tests the run with a meter and repairs or replaces the damaged section.
How high off the floor should the sensors sit?
Low. The industry checklist expects the beam no more than roughly 15 cm (6 in) up from the floor, so that a small child, a pet or a bicycle wheel breaks it. Both sensors are set at the same measured height and level with each other, since a difference of a couple of centimetres is enough to lose the beam. Within that rule the technician can raise them a little to keep them out of the strip where slush collects.
Will my phone app or hub still work after the sensors are changed?
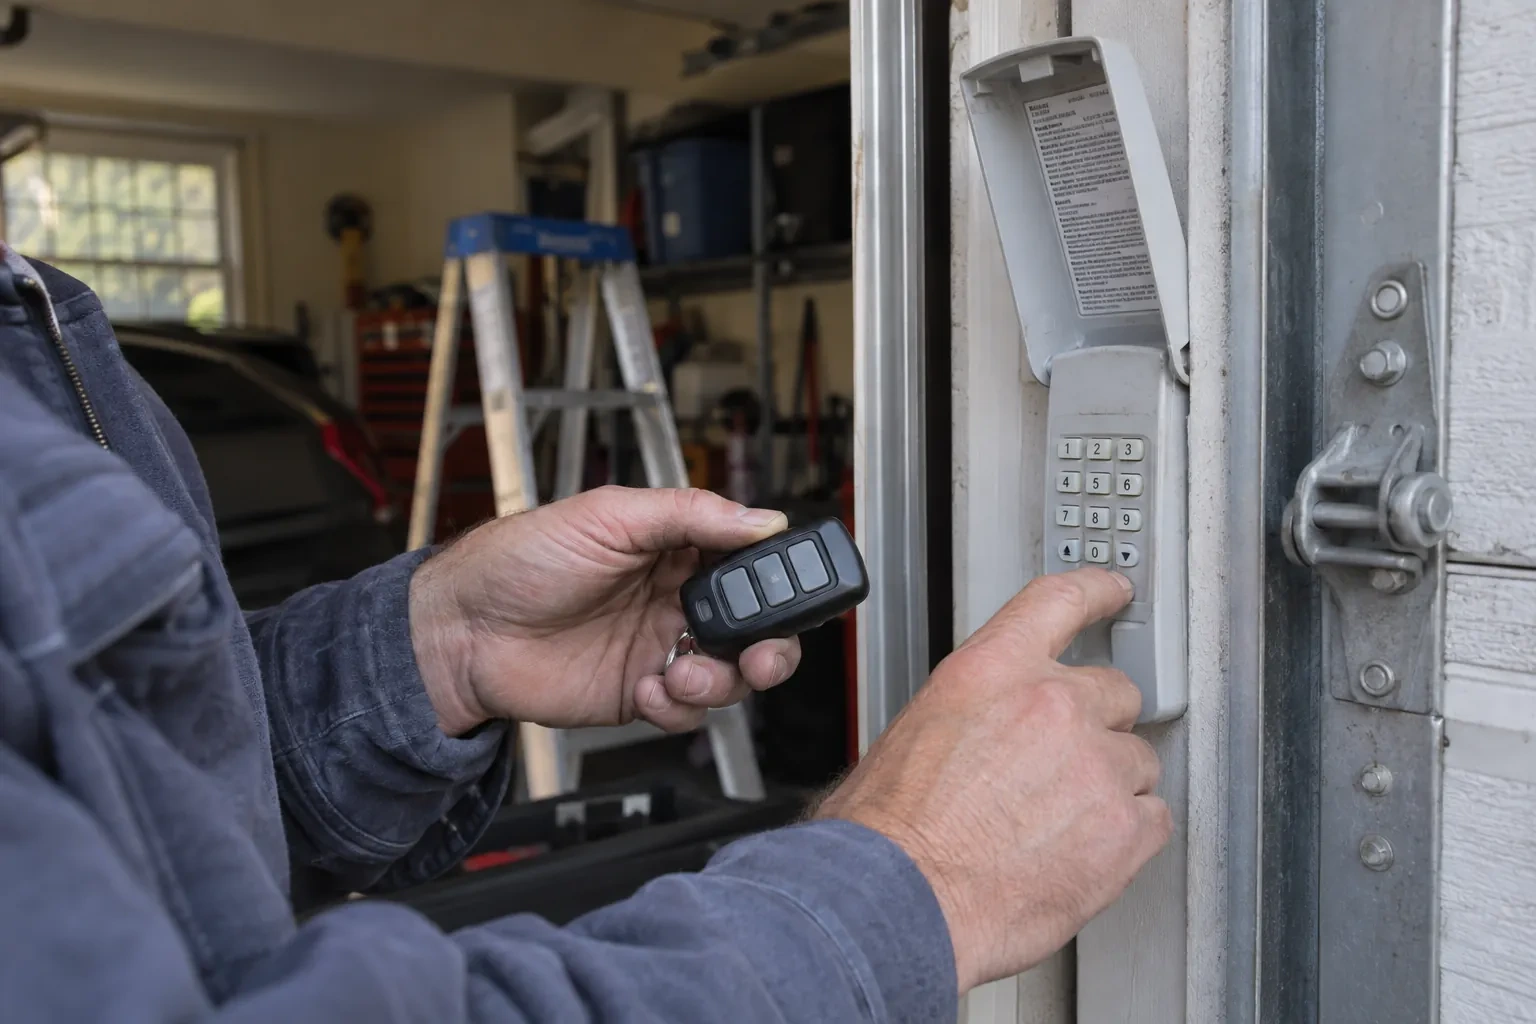
Yes. The sensors are wired to the head unit, and the app or hub simply talks to that unit, so nothing about the connection changes. What you will notice is the fault code clearing: apps that reported the sensors as obstructed or not aligned show the door as ready to close again. If an app or hub still holds an old code after the work, refreshing it or cycling the door from the app once clears it.
Related services
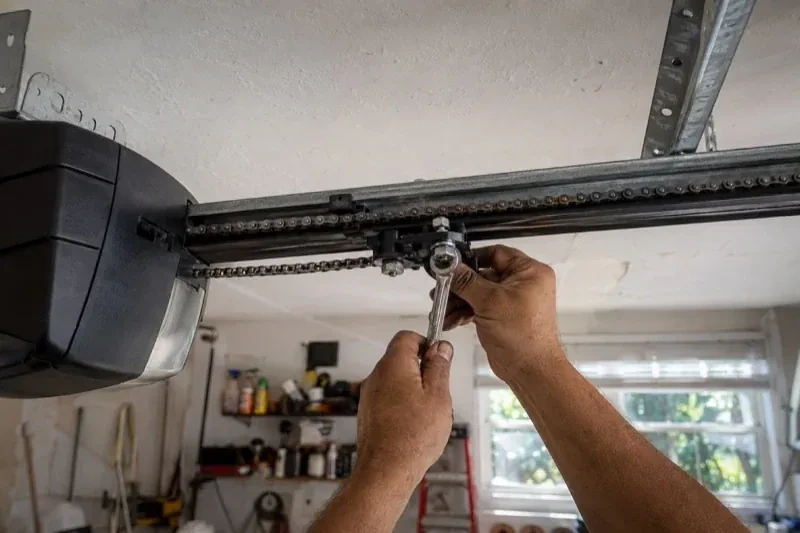
- Chain-Drive Opener RepairThe door opens about a third of the way and stops.
- Belt-Drive Opener RepairIt is minus twenty in the detached garage and the door climbs in jerks, the belt stiff as a board.
- Garage Door Opener ReplacementThe bedroom above the garage shakes every morning at six when the chain drive fires up.