Openers · Conestogo
Photo-Eye Sensor Alignment or Replacement in Conestogo
After a cold night the door stays open until the garage warms up.
In plain words
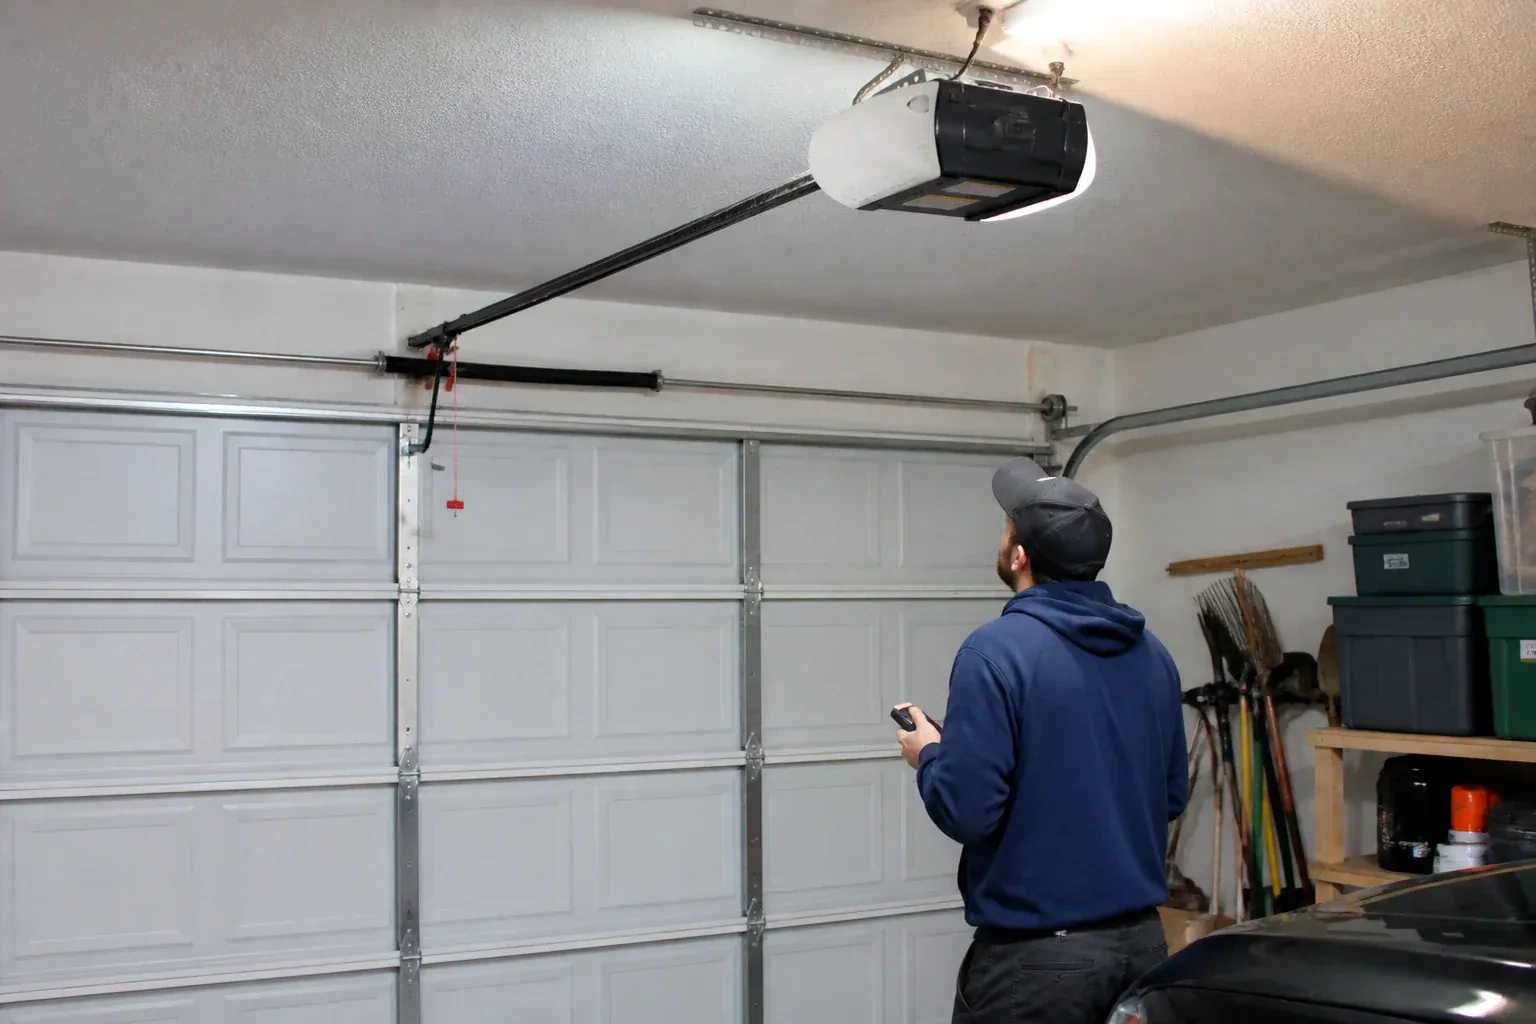
Your opener has been trying to tell you what is wrong. The head unit flashes its light a set number of times, or blinks a pattern on its up and down arrows, and each pattern maps to a cause on the maker's chart: beam blocked or misaligned, wire cut or disconnected, wires reversed or shorted. Down at the floor, many sensor pairs carry an indicator on each side, though some older pairs light only the receiver; check that model's chart, since a receiving light going out or flickering usually points to alignment. The technician reads both sets of signals first, which is why the repair usually takes one visit.
How the visit goesThe door will only go down while a finger stays on the wall button; let go and it stops or reverses. From the remote it opens fine but never closes, so someone has to stand in the garage every time.
Photo-Eye Sensor Alignment or Replacement
How the visit goes
Following the wire home
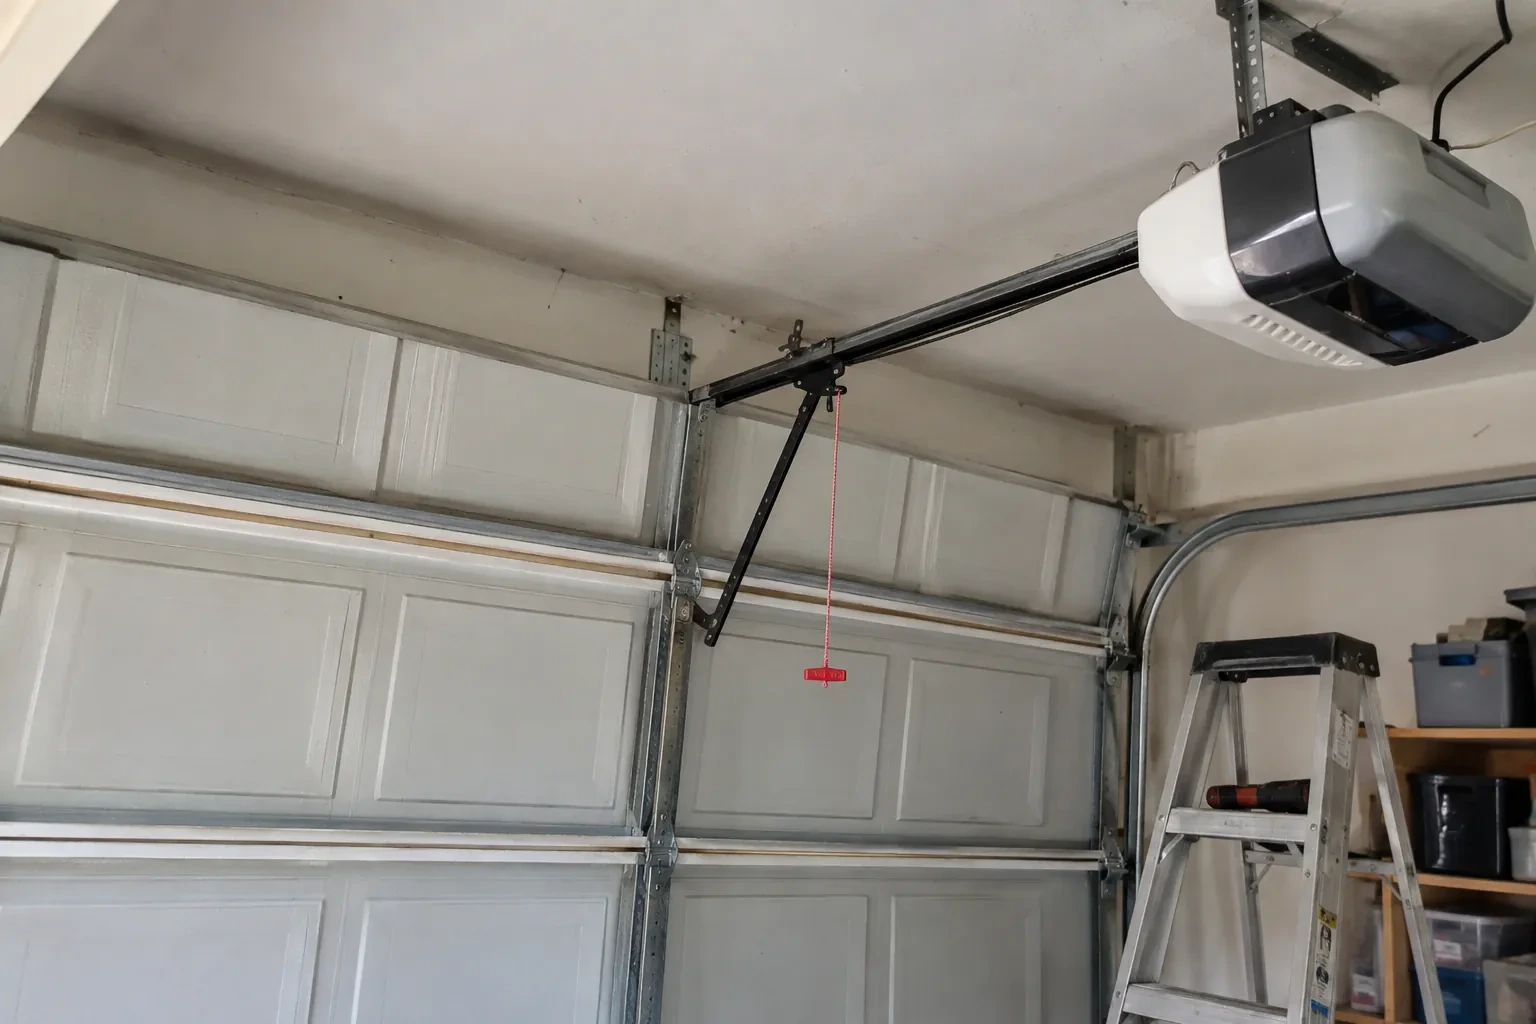
When the lights or the code point to the circuit, the low-voltage wire is followed from each sensor to the head unit. The technician looks for staples driven through the insulation, wire pinched behind a track bracket, sections chewed by mice, cuts where shelving or drywall screws went in, splices that have corroded, and terminals at the head unit that are loose or connected the wrong way round. A meter confirms continuity and polarity rather than guessing. Where the wire disappears into a finished ceiling, the readings at each end tell whether the hidden section is sound or whether a fresh run is the tidier answer.
Straightening or replacing the brackets
A bent bracket is straightened where the metal allows and replaced where it has cracked or rusted through. New brackets are chosen to suit the mounting: a track-mounted clip that rides the vertical rail, or a right-angle bracket anchored to the wall or the concrete where the track sits too far back. Fasteners that vibrated loose are replaced with the right carriage bolts and wing nuts rather than reused. Where a bracket has been sitting in salt slush every winter, it is set a touch higher within the permitted range and the mounting is sealed against the wall so water stops running behind it.
If it ever reverses again
Should the door start bouncing back up in the future, you know the order to check. Look along the floor for anything in the beam. Look at the two sensor lights for a dark or flickering one. Look at whether the door backs up as soon as it starts or only after touching something, since the second points to the door's settings rather than the beam. Note whether the opener light is flashing and how many times. With those four facts the cause is usually obvious, and if a visit is needed, the technician arrives already knowing where to begin.
Photo-Eye Sensor Alignment or Replacement
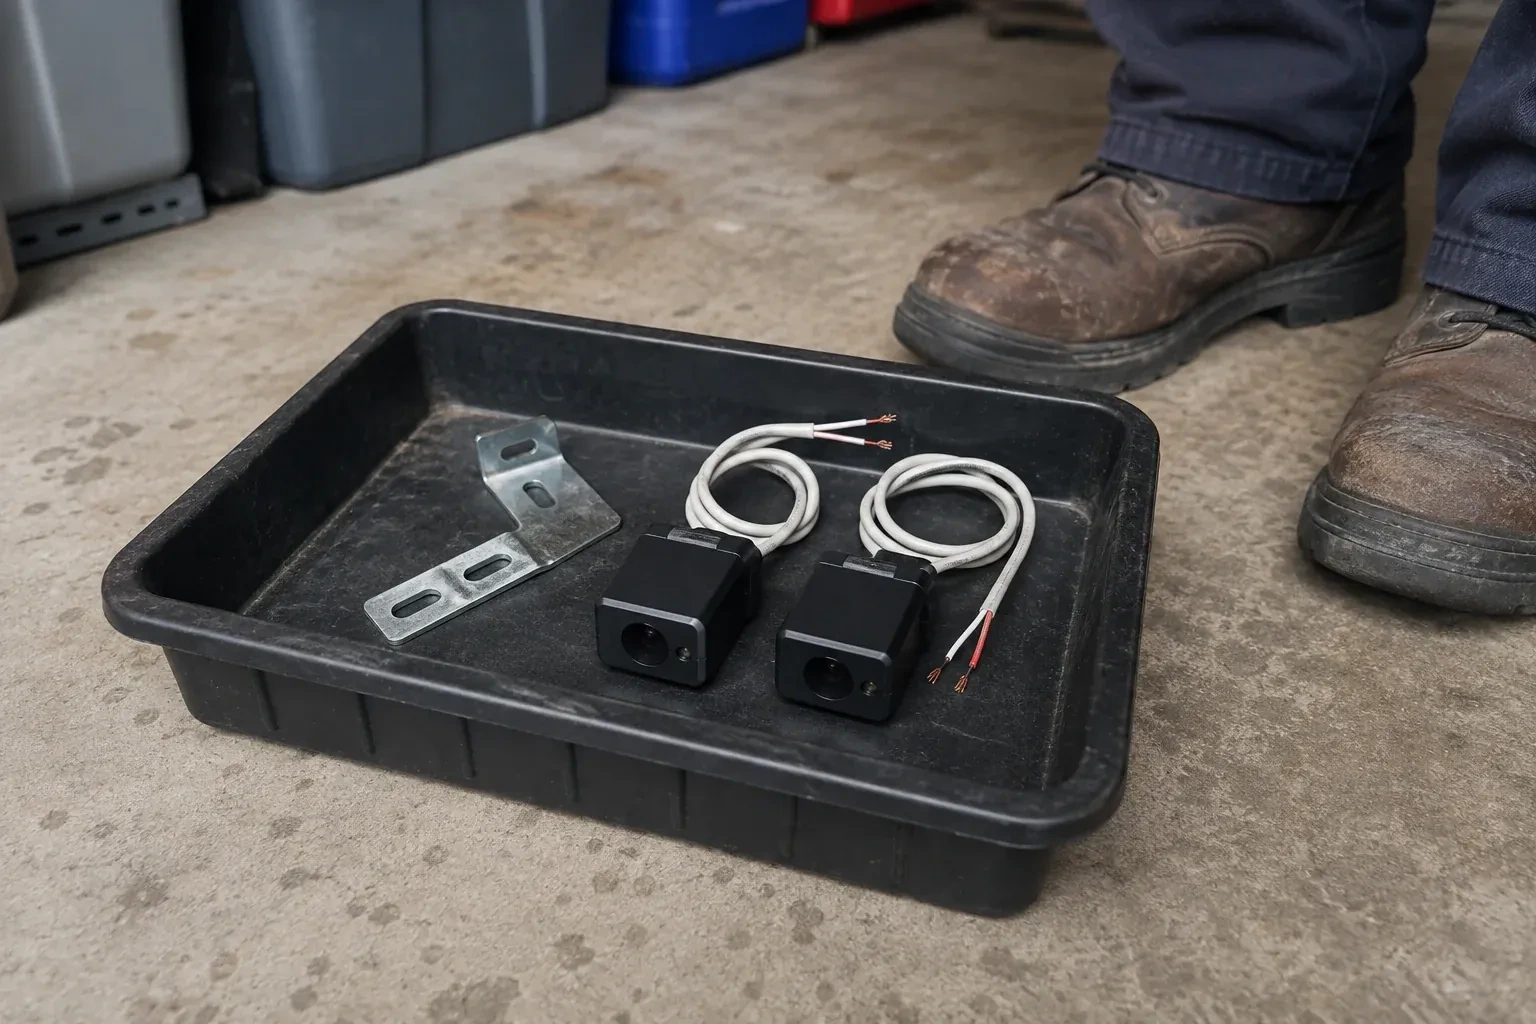
In the van
Multimeter
Insulated wire staples
Wall or floor angle brackets
Receiving-eye sun shade
Wire connectors
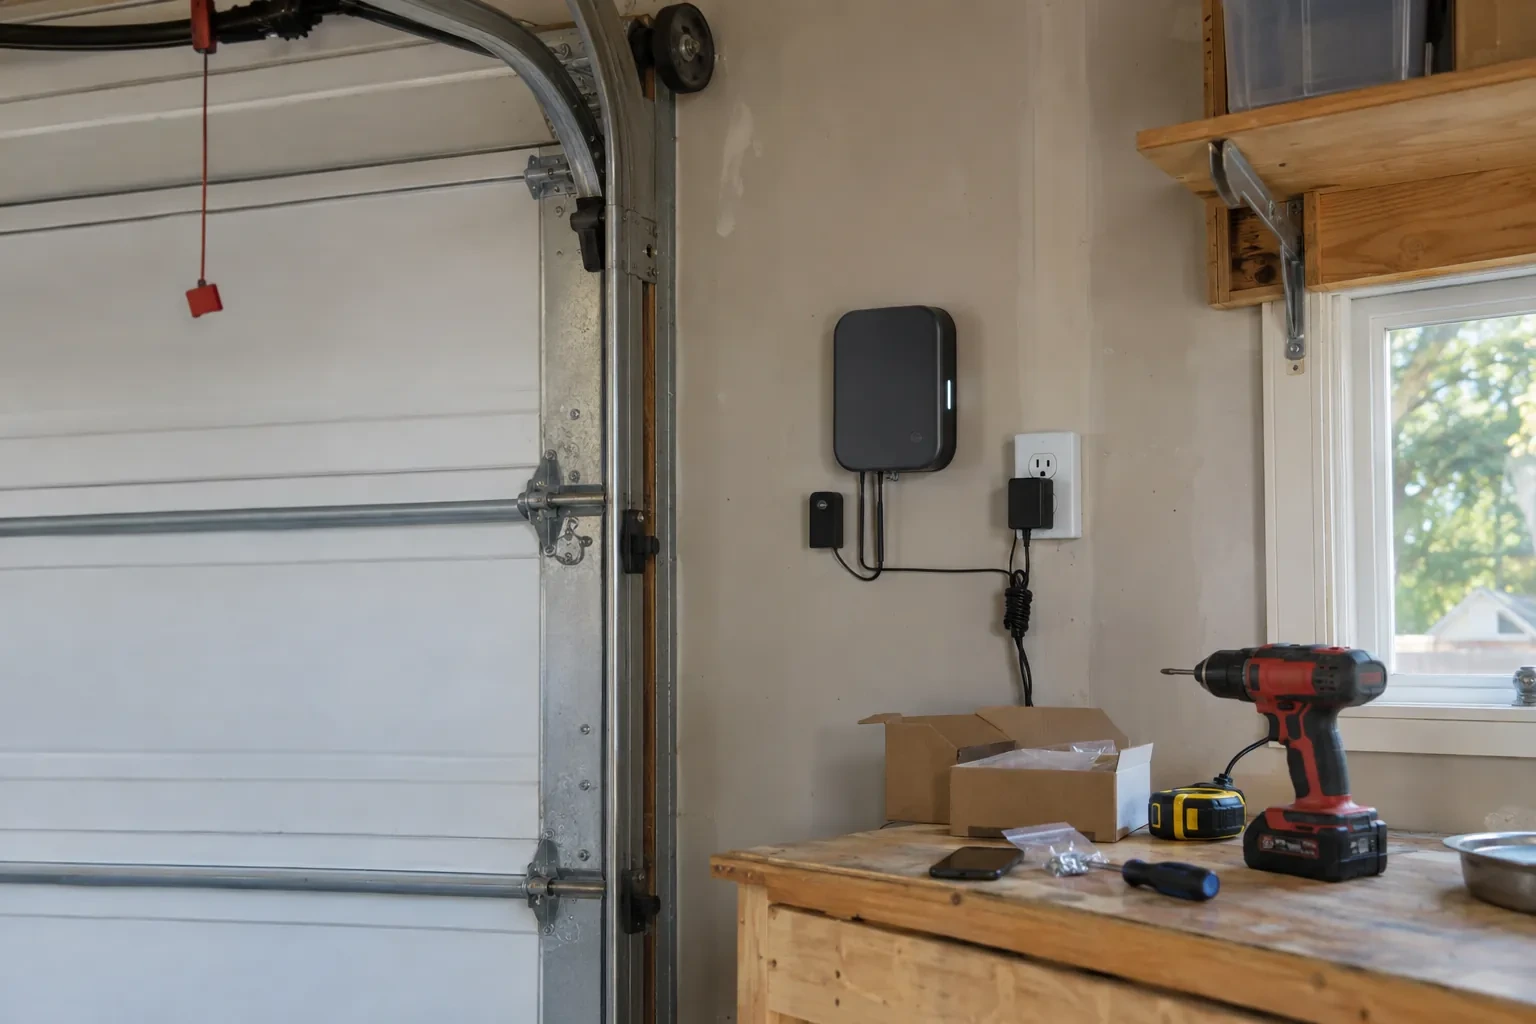
Photo-Eye Sensor Alignment or Replacement
What affects the quote
Undoing an earlier shortcut
Sensors taped together beside the motor, mismatched pairs from different generations or a bypassed circuit are put right first, which means new wire down each side and fresh brackets at the doorway.
Bracket condition
A bracket that can be straightened costs little time. One that is cracked, rusted through or missing is replaced, and a change from track clips to wall or floor brackets adds anchors and mounting work.
Wall or floor mounting with anchors
Mounting into concrete or masonry rather than onto the track means drilling, anchors and sealing against water, which takes more time than clipping to the rail.
What to have ready
- Is there frost, snow, slush or salt around the sensors in winter?
- Which direction does the garage door face?
- What do the two small sensor lights show: both steady, one dark or flickering, or both dark?
Photo-Eye Sensor Alignment or Replacement: questions
QuestionsCould the wiring be the problem rather than the sensors?
Frequently. The sensors are fed by a thin two-conductor wire from the head unit that crosses the ceiling and drops down both sides of the door, and it is pierced by staples, cut by shelving screws, chewed by mice or pulled from its terminals more often than a sensor fails. Both sensor lights dark, or an opener code for an open or reversed circuit, points to the wire. The technician tests the run with a meter and repairs or replaces the damaged section.
How high off the floor should the sensors sit?
Low. The industry checklist expects the beam no more than roughly 15 cm (6 in) up from the floor, so that a small child, a pet or a bicycle wheel breaks it. Both sensors are set at the same measured height and level with each other, since a difference of a couple of centimetres is enough to lose the beam. Within that rule the technician can raise them a little to keep them out of the strip where slush collects.
Will my phone app or hub still work after the sensors are changed?
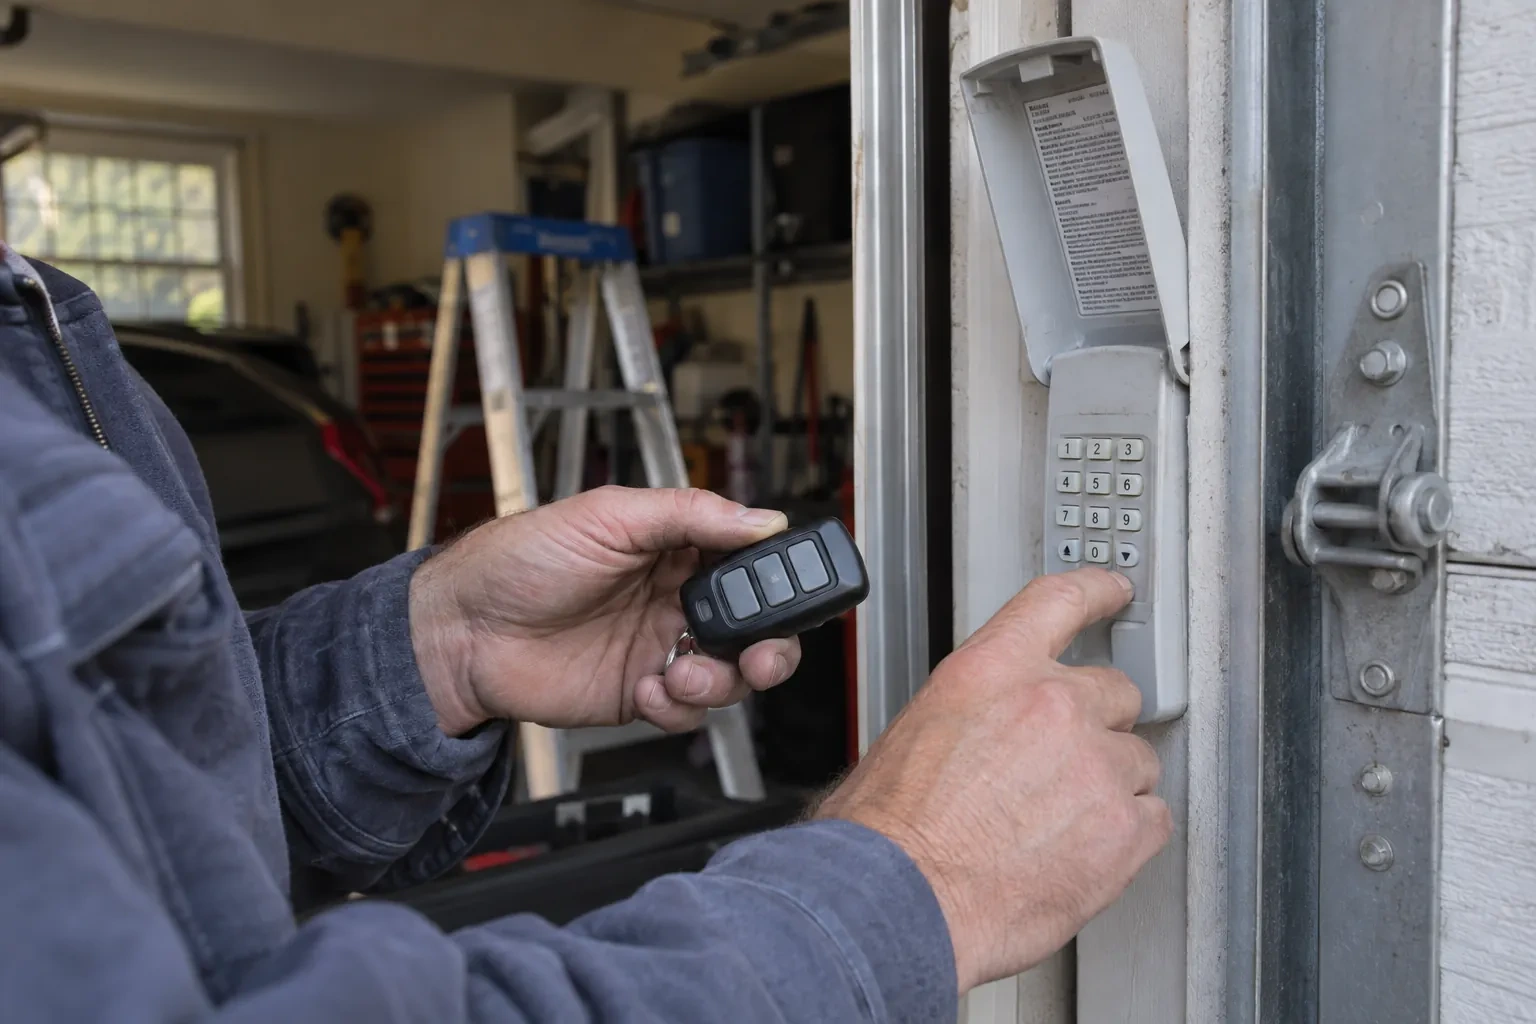
Yes. The sensors are wired to the head unit, and the app or hub simply talks to that unit, so nothing about the connection changes. What you will notice is the fault code clearing: apps that reported the sensors as obstructed or not aligned show the door as ready to close again. If an app or hub still holds an old code after the work, refreshing it or cycling the door from the app once clears it.
Related services
- Chain-Drive Opener RepairThe door opens about a third of the way and stops.
- Belt-Drive Opener RepairIt is minus twenty in the detached garage and the door climbs in jerks, the belt stiff as a board.
- Garage Door Opener ReplacementThe bedroom above the garage shakes every morning at six when the chain drive fires up.