Repairs · Woolwich
Garage Door Safety Inspection in Woolwich
On bright afternoons the door goes down a metre, stops, and climbs back up while the light on the opener blinks.
In plain words
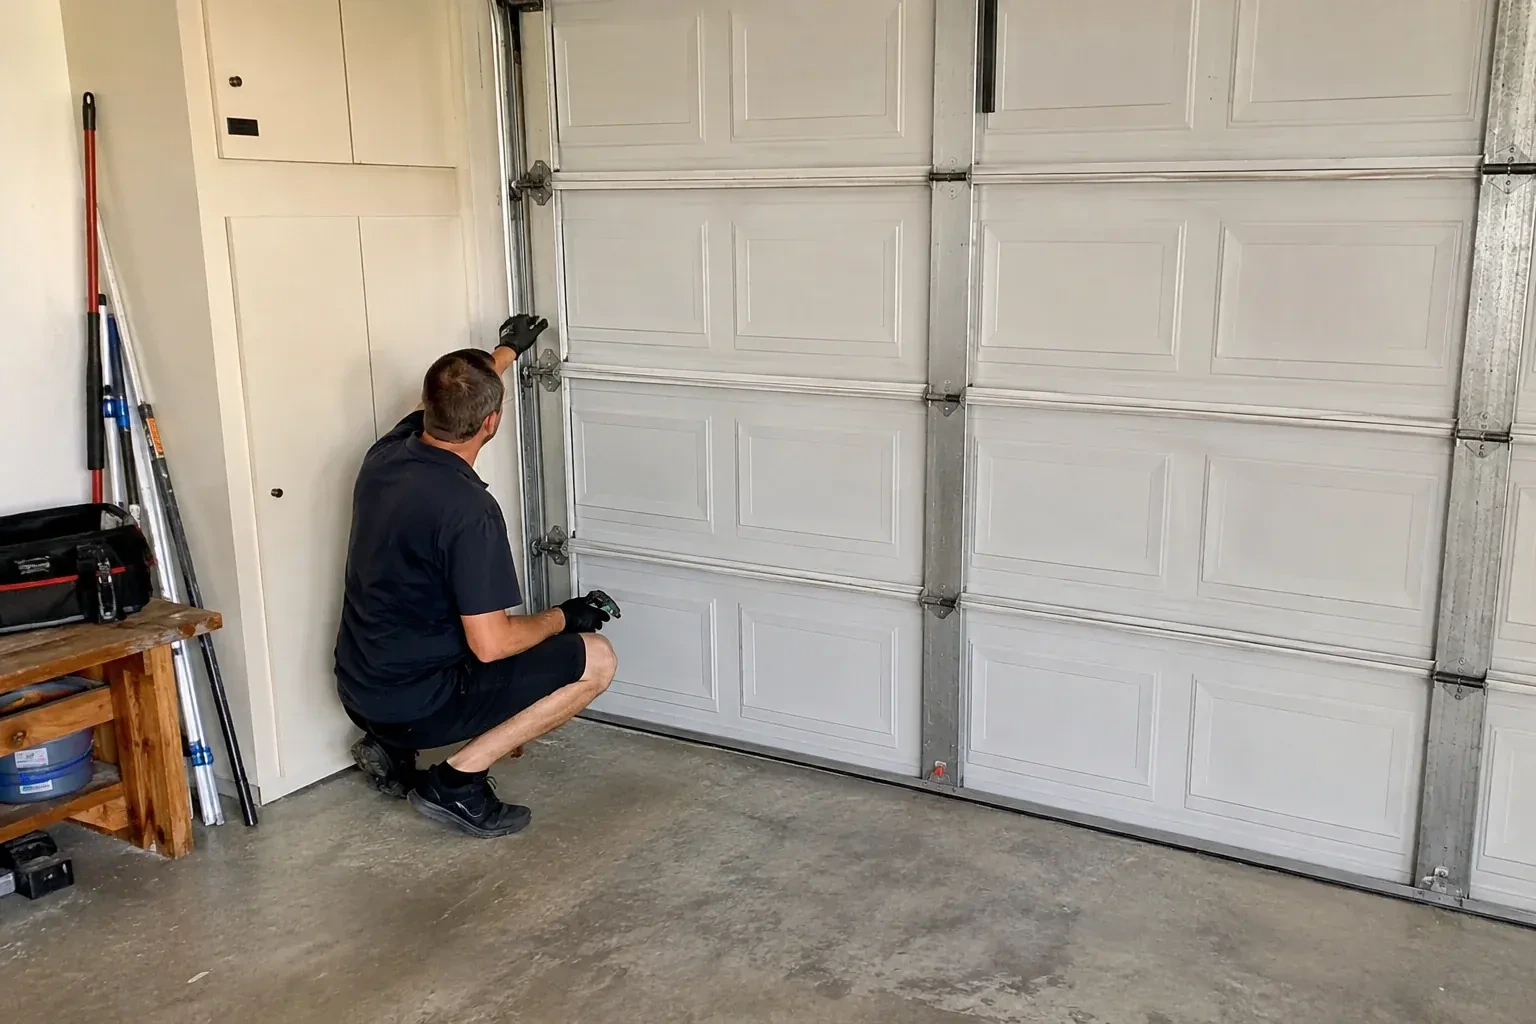
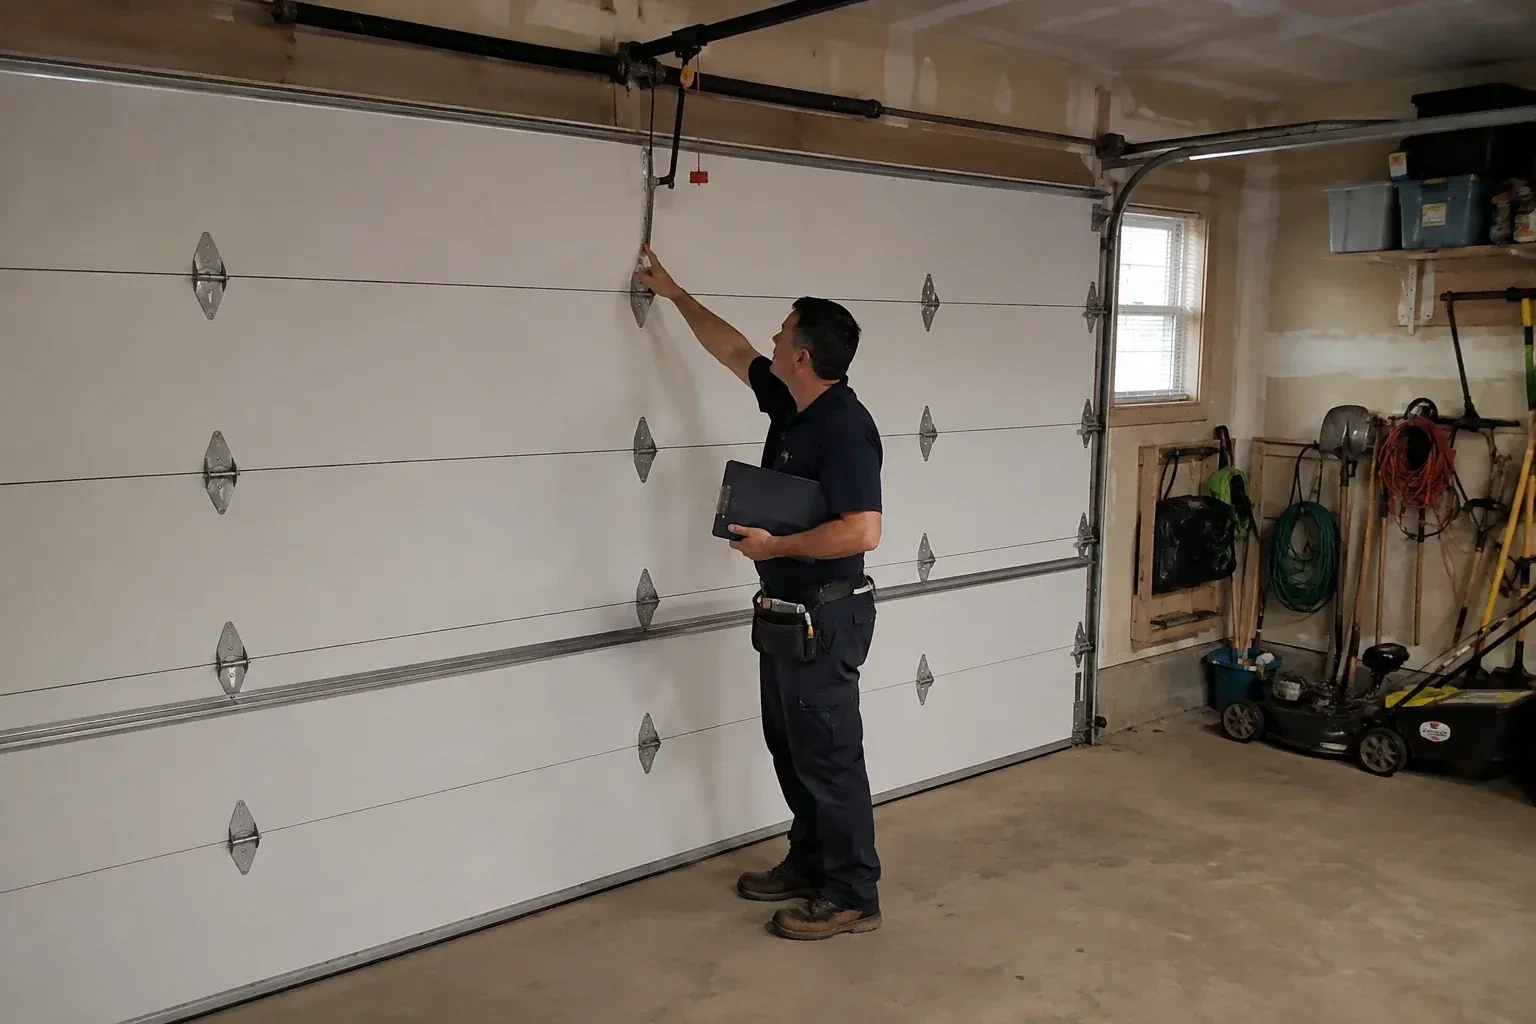
The visit runs in a settled order. First the door and opener are identified and the right test procedure looked up. Then a visual walk of the closed door, from the top section down to the bottom seal, and along both tracks. Next a full cycle under power while the technician listens and watches. Then the opener is disconnected for the manual balance check, reconnected for the reversal and photo-eye tests, and the controls, release cord and mounting brackets are checked. Finally the findings are explained at the door and written up, so you know exactly where the door stands before anyone leaves.
How the visit goesBacking out in a hurry, the bumper tapped the bottom section. The dent is small and the door still runs, but it seems to shudder now at the point where the panel meets the track.
Garage Door Safety Inspection
How the visit goes
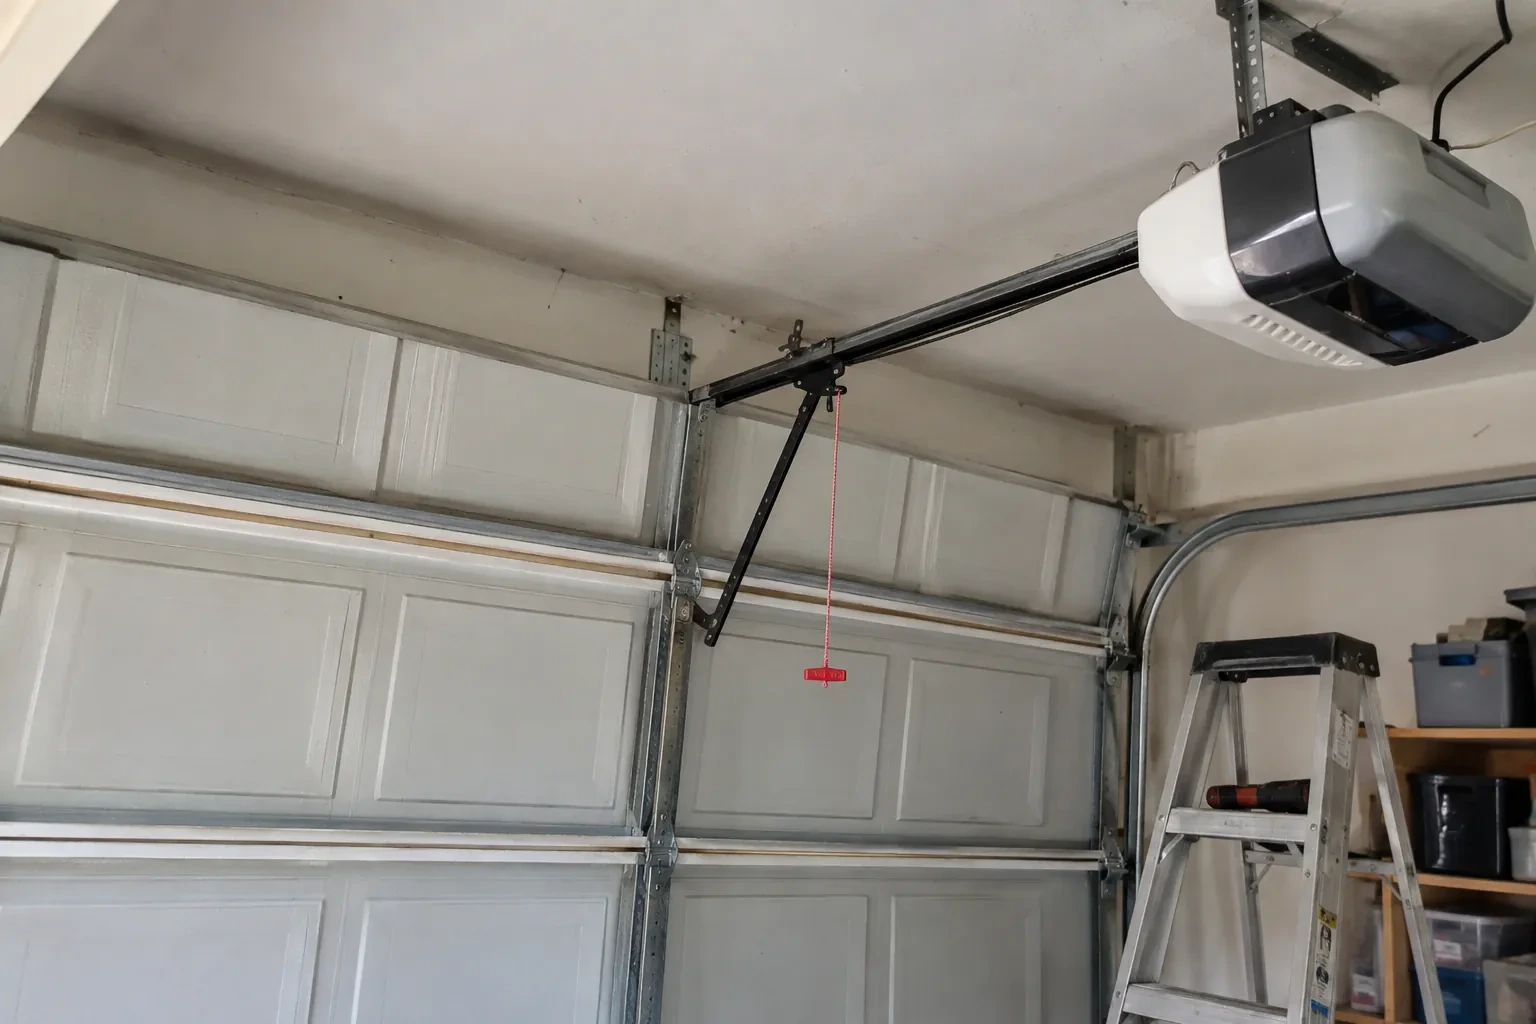
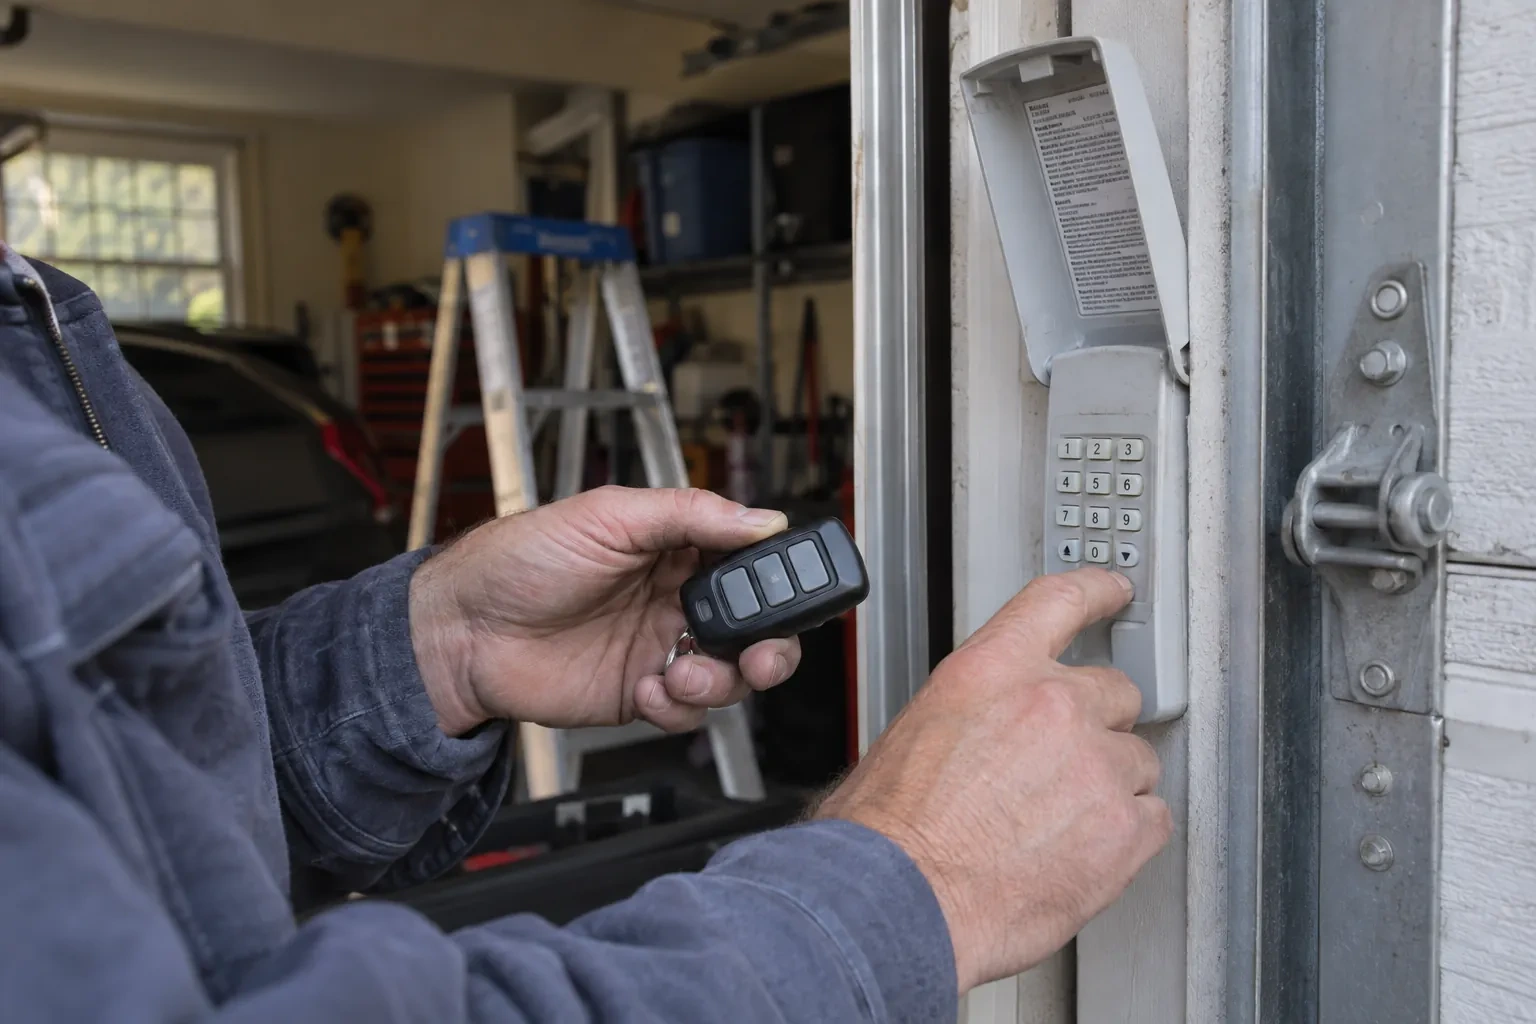
The opener head, its arm and its safety devices
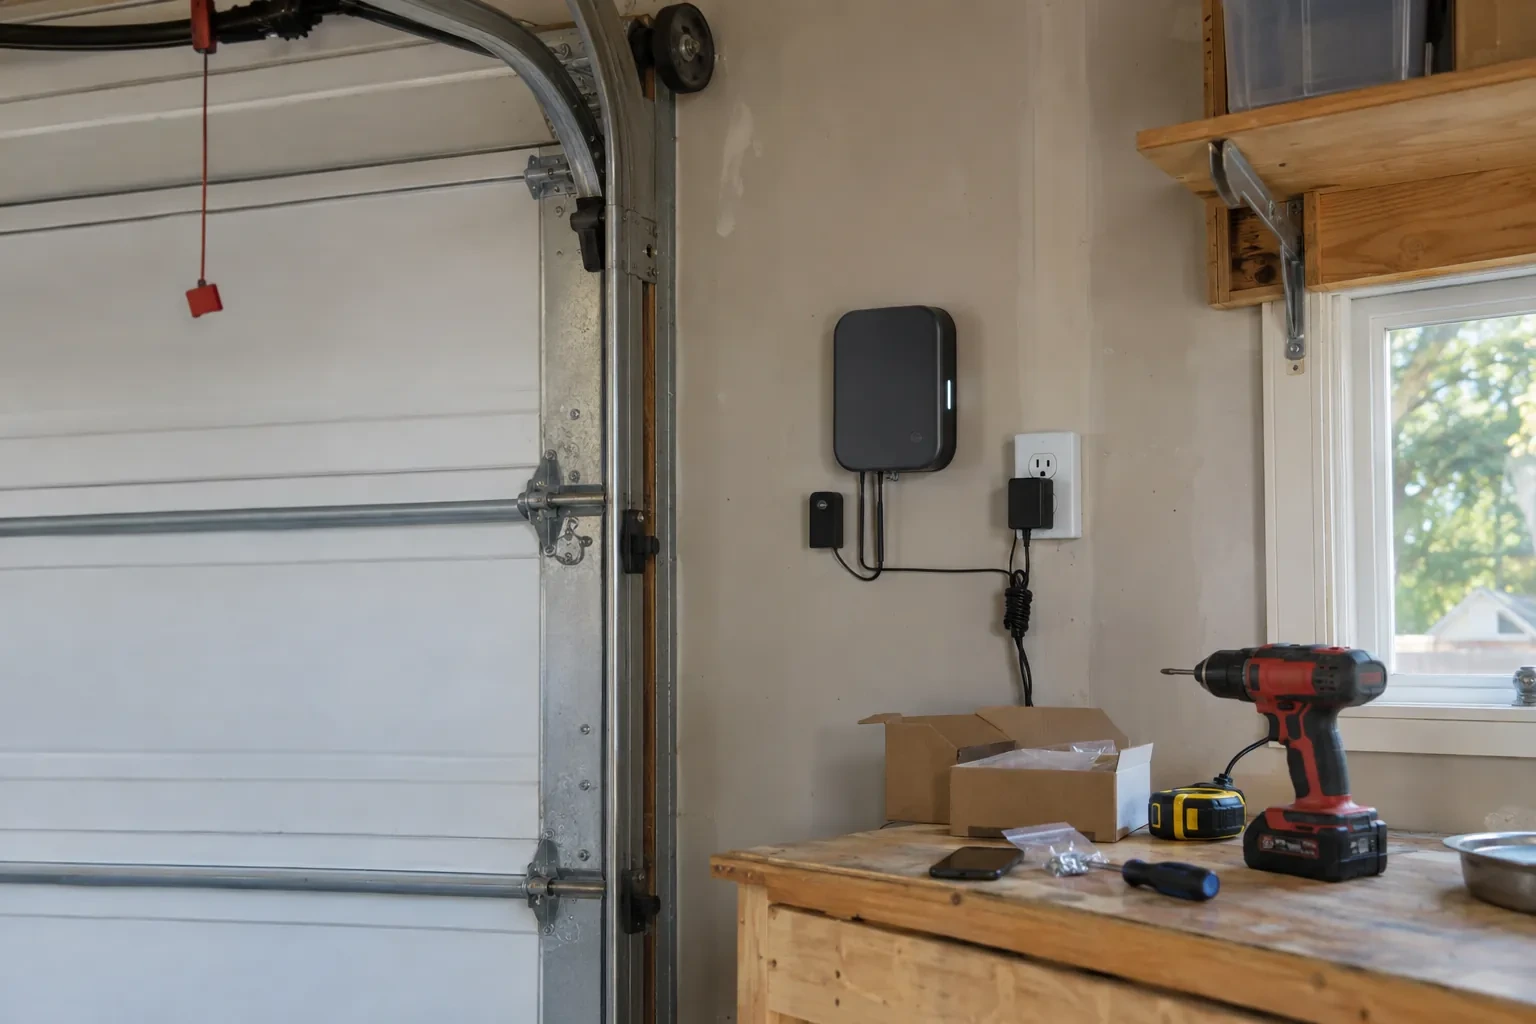
Turning to the opener, the technician checks that the motor head is secure on its hangers, the rail is straight and its header bracket firmly fixed, and the curved arm meets the door at a bracket that is bolted to a reinforced section rather than thin steel. The chain, belt or screw drive is looked at for slack or wear. The photo eyes are located, their height above the floor noted, their lenses and wiring checked, and the wall control, remotes, keypad and lock or vacation button are each identified so they can be tested in turn. This is also where the manual release cord and handle are confirmed to be within reach and in working order.
Testing contact reversal with a board
The opener is reconnected and a flat 2x4 offcut is laid on the floor across the centre of the opening. The door is sent down from the wall control. On meeting the board it should stop and reverse to fully open on its own. If it stalls on the board, pushes against it, or only reverses after a long pause, the opener's down-force or travel limit needs attention and the finding goes in the report. Older openers without photo eyes are tested this way too, and their behaviour is recorded against the test the maker specifies. The board is used every time; a hand or foot never stands in for it.
A baseline for the next inspection
The most useful thing about a first inspection is the second one. With the model numbers, spring dimensions, cable condition, seal gaps and photo-eye heights on record, the next technician can measure the same points and tell you what has moved rather than starting from nothing. For most households an annual visit fits, with a look in early spring after the salt season a natural choice. A door that carries a lot of traffic, an older door, or one in a rental where nobody watches it closely may suit a check each season. Whatever the interval, the report you are holding is the reference the next one will be read against.
Garage Door Safety Inspection
In the van
Socket set and nut drivers
Camera for findings
Remote and keypad batteries
Silicone garage-door lubricant
Spring and cable gauges
Garage Door Safety Inspection
What affects the quote
A retest after repairs
When the report lists repairs, a short return visit to rerun the balance, reversal and photo-eye tests once the work is done is quoted as its own item.
Opener type and age
A current opener with photo eyes, a keypad and several remotes has more devices to test than an older unit with contact reversal alone, and the test procedures differ by model.
An impact to trace
After a vehicle or object has hit the door, the technician follows the force through the hardware and photographs each point, which is a deeper assessment than a routine check.
What to have ready
- What make is the opener, and does it have sensors near the floor on each side?
- Do you have the door and opener manuals?
- Is anything stored near the tracks, under the spring shaft or in front of the door?
Garage Door Safety Inspection: questions
QuestionsWhat exactly gets looked at during the inspection?
The whole system, not just the opener. Sections, hinges, rollers, tracks and their fasteners; springs, cables, drums and bottom brackets; the bottom seal and perimeter weatherstrip; the opener head, rail, arm and mounting; the photo eyes, contact reversal, wall control, remotes, keypad and manual release; and the warning labels. Each is examined, and the door is tested both by hand and under power.
What is the board test?
It is the contact-reversal check. A short length of 2x4 lies flat on the floor in the middle of the opening and the door is closed from the wall button. When the bottom edge meets the wood, the door should halt and travel back up without help. Passing shows the opener's down-force and travel limits are set to back off from something solid. The technician never substitutes a hand or foot for the board.
What is in the written report?
The date, the door and opener model numbers, the spring type and dimensions, and a line for each component with its condition. Findings are sorted into in good order, maintenance done, planned repair and stop-use. Measurements such as seal gaps, track spacing and photo-eye height are recorded, and photographs of anything worth showing are attached. It is written so a future technician can quote from it and a future inspection can compare against it.
Related services
- Off-Track Garage Door ResetYour car is inside and the door is stuck crooked across the opening.
- Garage Door Panel ReplacementA stray ball went through one of the window panes in the top section.
- Garage Door Bottom Seal ReplacementEvery mild afternoon the snow melts off the car, runs to the door, and by morning the rubber strip along the bottom is frozen to the concrete.