Openers · Elmira
Garage Door Opener Replacement in Elmira
The bedroom above the garage shakes every morning at six when the chain drive fires up.
In plain words
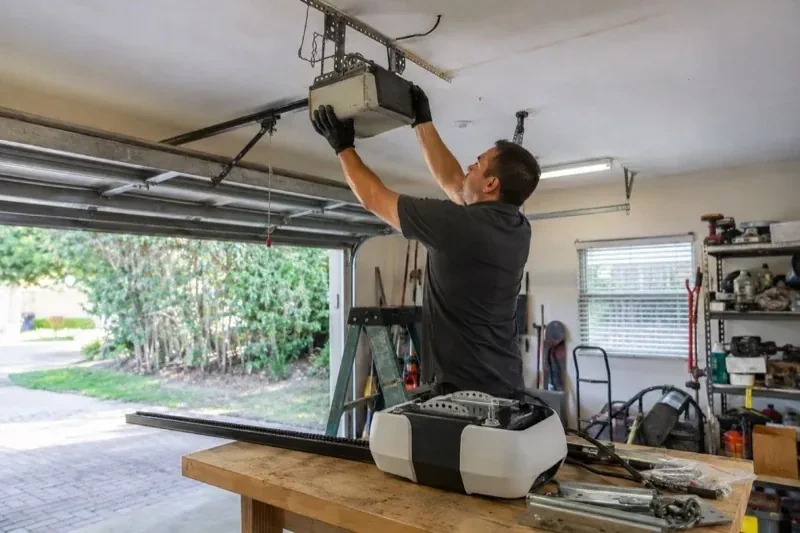
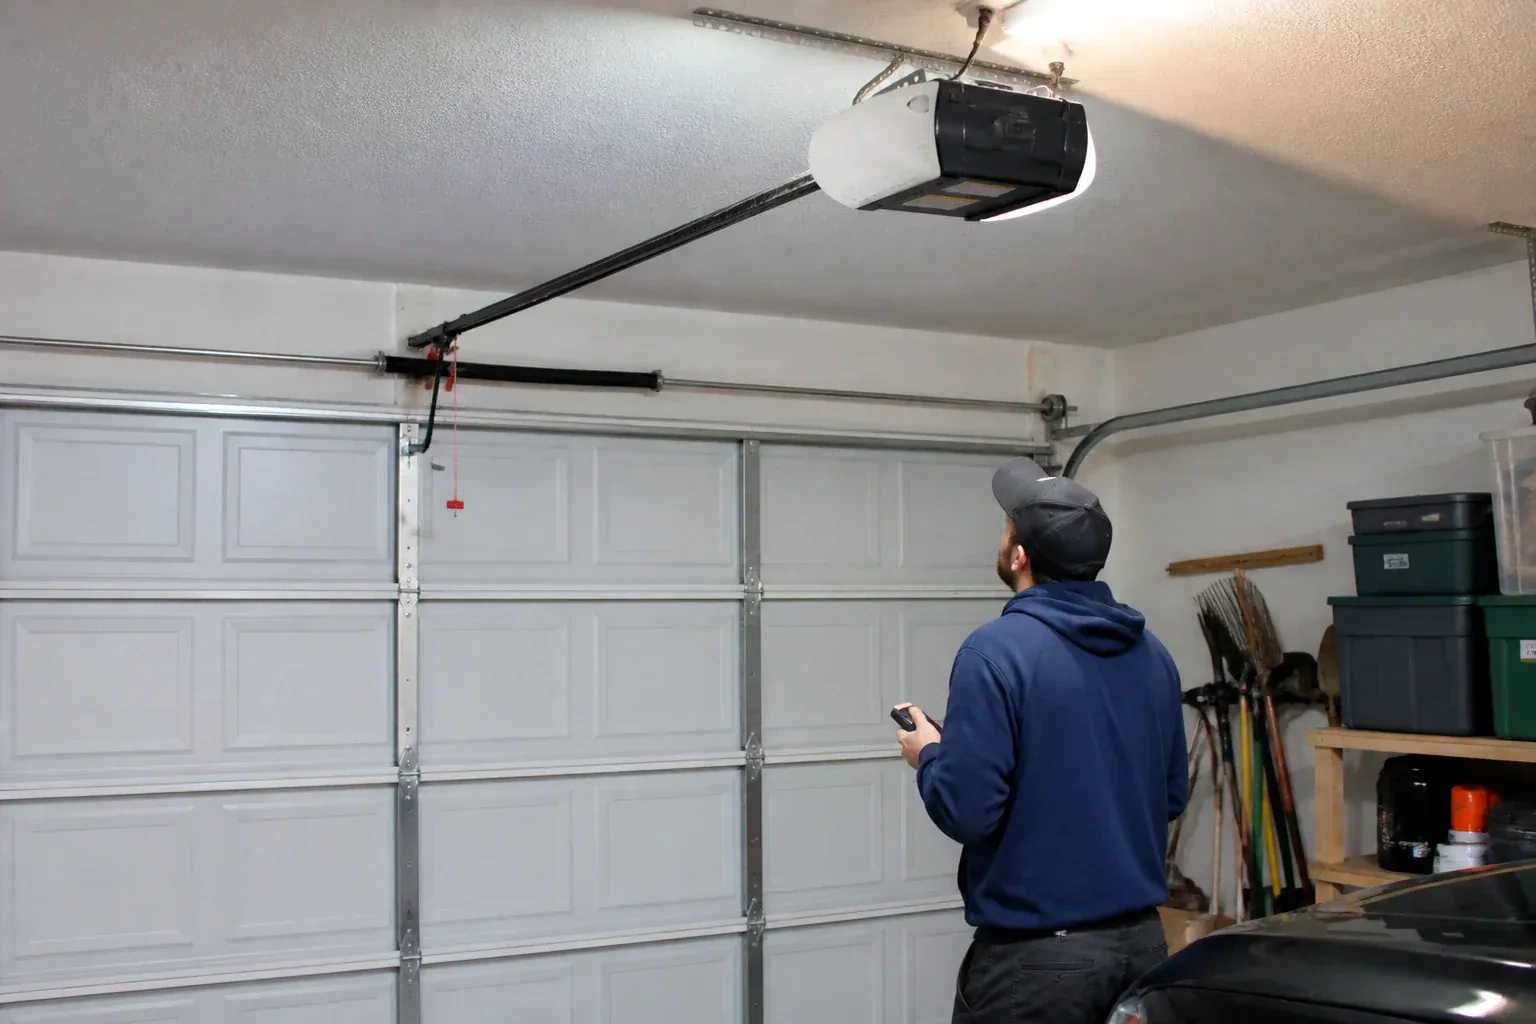
How do you tell whether an opener has reached its end or simply needs a part? A snapped gear or a worn trolley on an otherwise sound, recent unit is a repair. Replacement makes sense when the operator predates photo-eye sensors, when the board or motor has failed and is no longer made, when the same fault keeps returning, when the door has become heavier, or when you want features it was never built for, such as battery backup or phone control. The technician lays both paths side by side so the choice is yours, and a new operator brings the door up to today's safety standard.
How the visit goesPress the button and the motor hums, but the door stays exactly where it is. Under the housing there is a dusting of white plastic shavings, the sign of a stripped drive gear, and this is the second time it has happened.
Garage Door Opener Replacement
How the visit goes
Headroom, framing and where the rail will hang
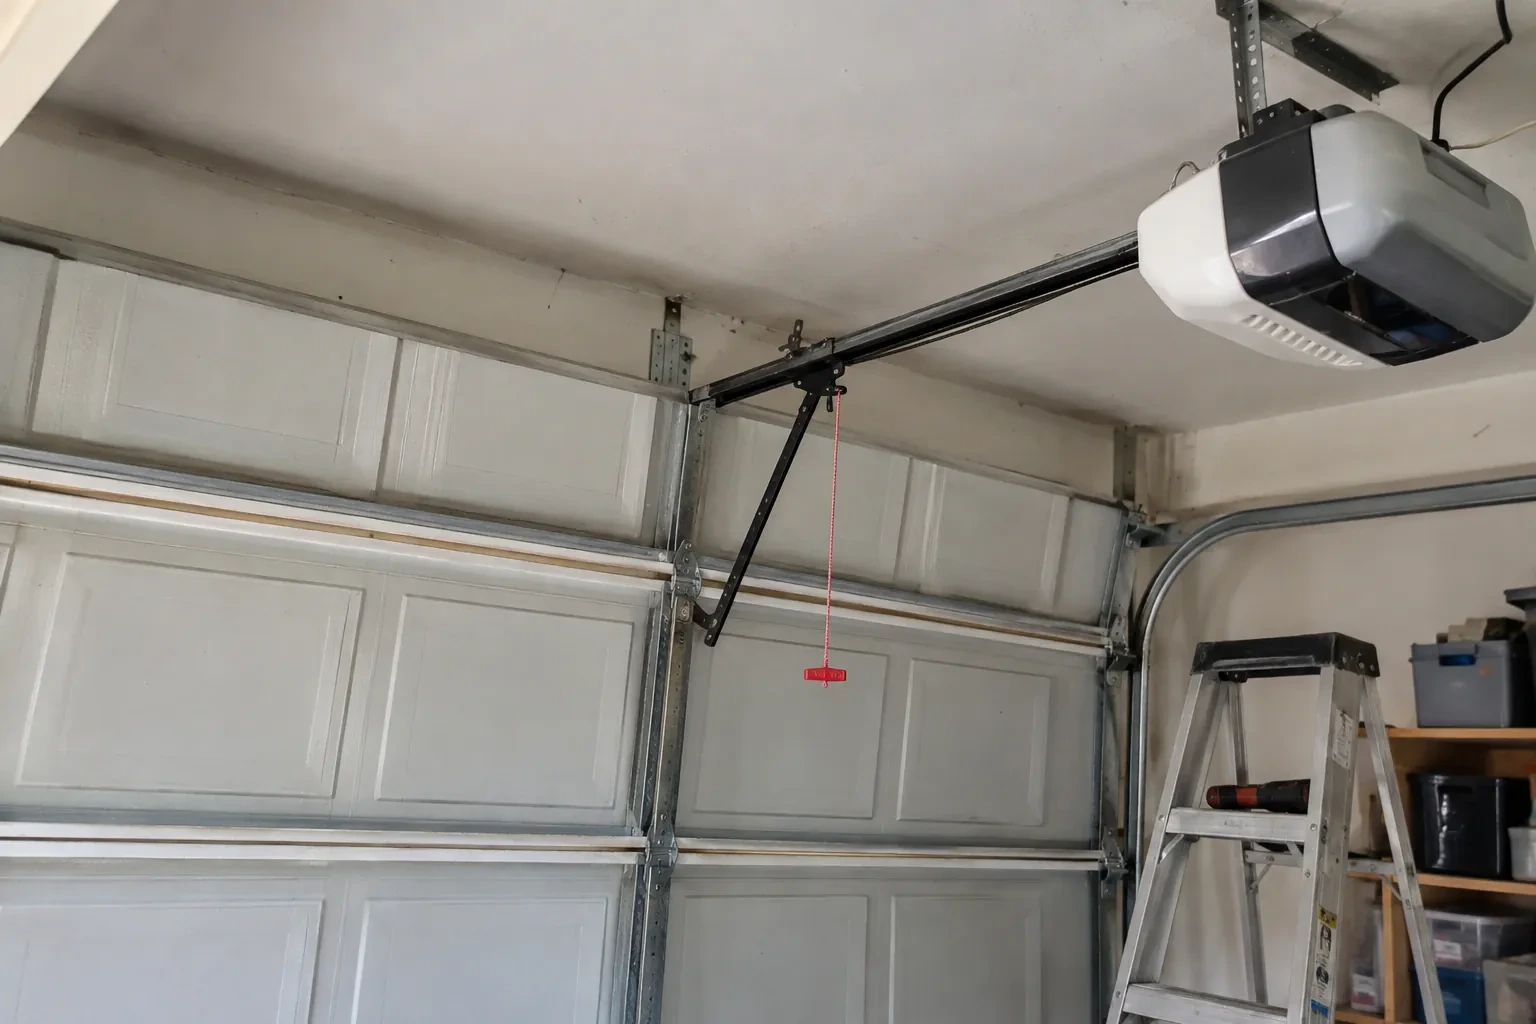
Looking up tells the technician how the new opener will fit. The gap between the top of the open door and the ceiling decides whether a standard rail has room or a low-headroom arrangement or a wall-mount operator is the better fit. The wall above the door is checked for solid framing to take the header bracket, and the ceiling for joists or trusses to carry the angle iron that hangs the head. Door height matters too: a 7 ft door takes a standard rail while an 8 ft door needs an extension. Storage racks, lights and ducts in the path of the rail are noted so nothing gets in the way on the day.
Building and hanging the new rail
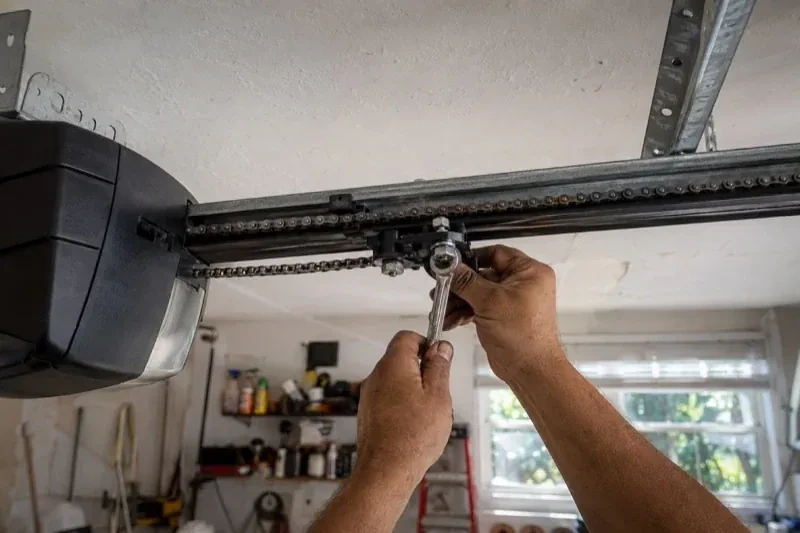
The rail sections are joined on the floor, the trolley is threaded on and the chain or belt is fitted and tensioned to the maker's setting before the assembly is bolted to the head. The header bracket is fastened with lag screws into solid framing centred above the door, high enough to clear the top section at the highest point of its travel. The head is then raised, hung from the ceiling joists with perforated angle iron cut to length, and adjusted until the rail runs level and in line with the door's centre. A rail that is true to the door keeps the trolley from binding and keeps the drive quiet for its whole life.
Getting the door through winter
A modern operator runs at the smallest force that moves the door, so on a bitter morning when the bottom seal has frozen to the slab it will reverse rather than tear the seal or strain the top section. The right response is to free the seal, by breaking the ice along the threshold or warming it, then press the button again. Keep snow and slush cleared from the threshold, put a silicone wipe on the seal before the cold sets in, and expect the door to sound a little different at minus twenty. An operator chosen for a detached garage is rated for those temperatures, and the seasonal lubricant it was given keeps the hardware moving.
Garage Door Opener Replacement
In the van
Photo-eye sensors
Rail sections and trolley
Header bracket and lag screws
Chain or reinforced belt
Backup battery
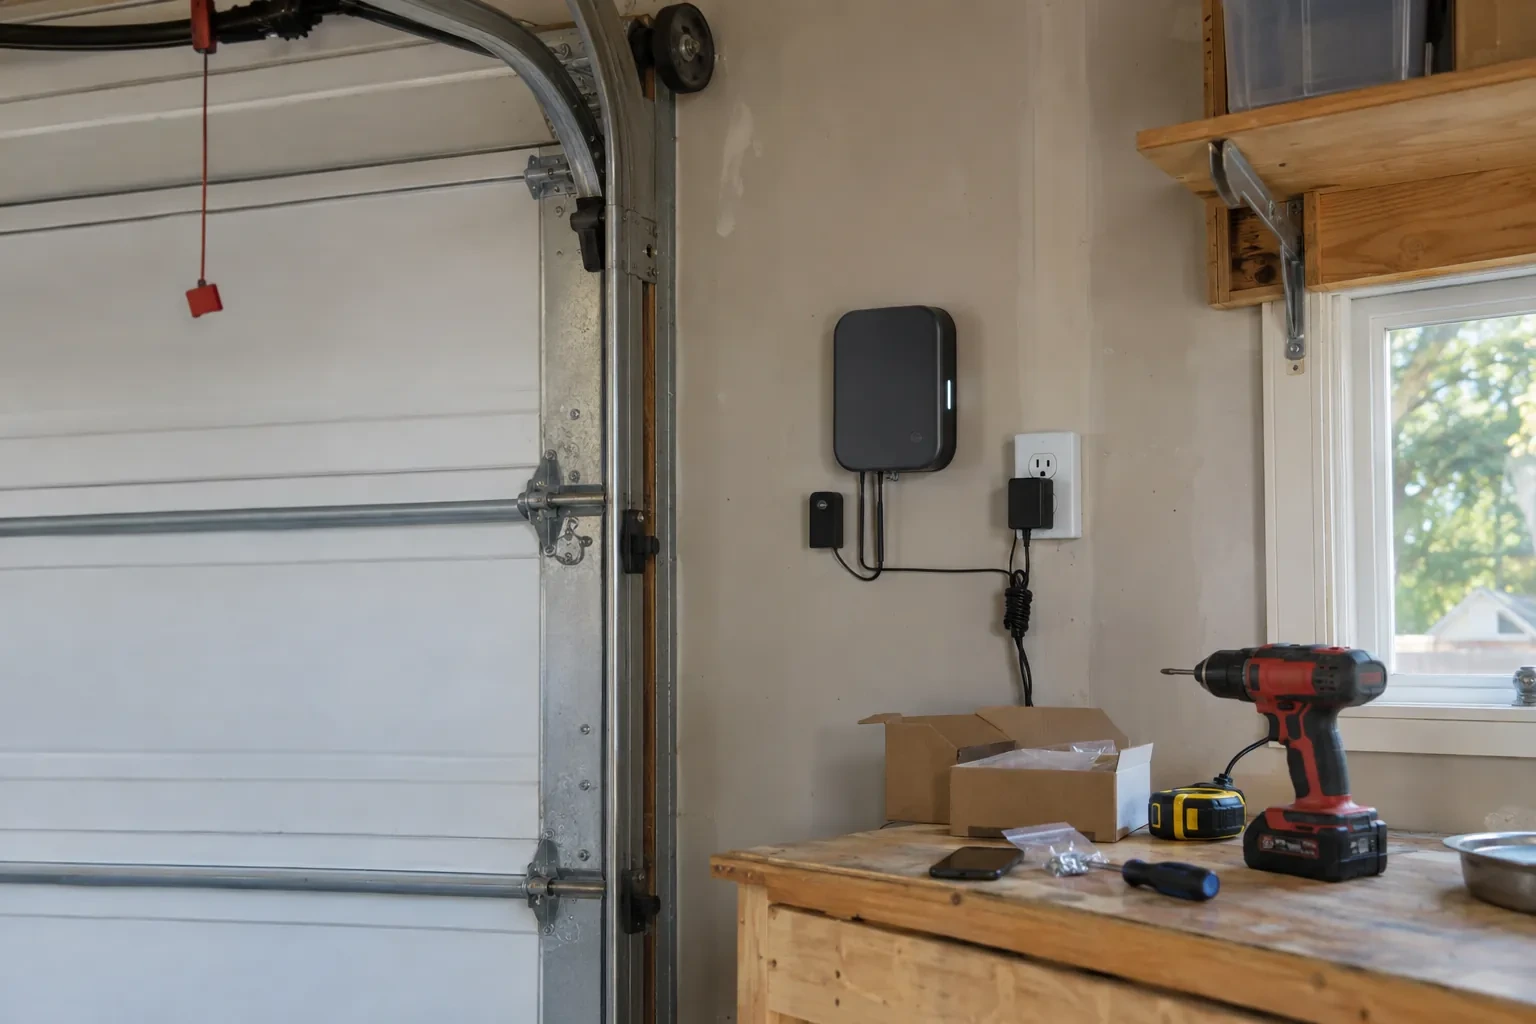
Garage Door Opener Replacement
What affects the quote
Ceiling height and mounting
A head unit hung from a high or cathedral ceiling needs longer angle iron and more time on the ladder than one mounted under a standard joist, and a finished drywall ceiling takes more care to fasten into.
Door work found during the balance check
Spring adjustment or replacement, tired rollers, cracked hinges or frayed cables discovered when the door is lifted by hand are quoted as door work in their own right, never folded into the opener.
Working around what is in the garage
A vehicle lift, a storage loft, ductwork or shelving where the rail will run, or a garage that cannot be emptied before the visit, adds handling time that the technician accounts for after seeing the space.
What to have ready
- How wide and how tall is the door, and is it a single or a double?
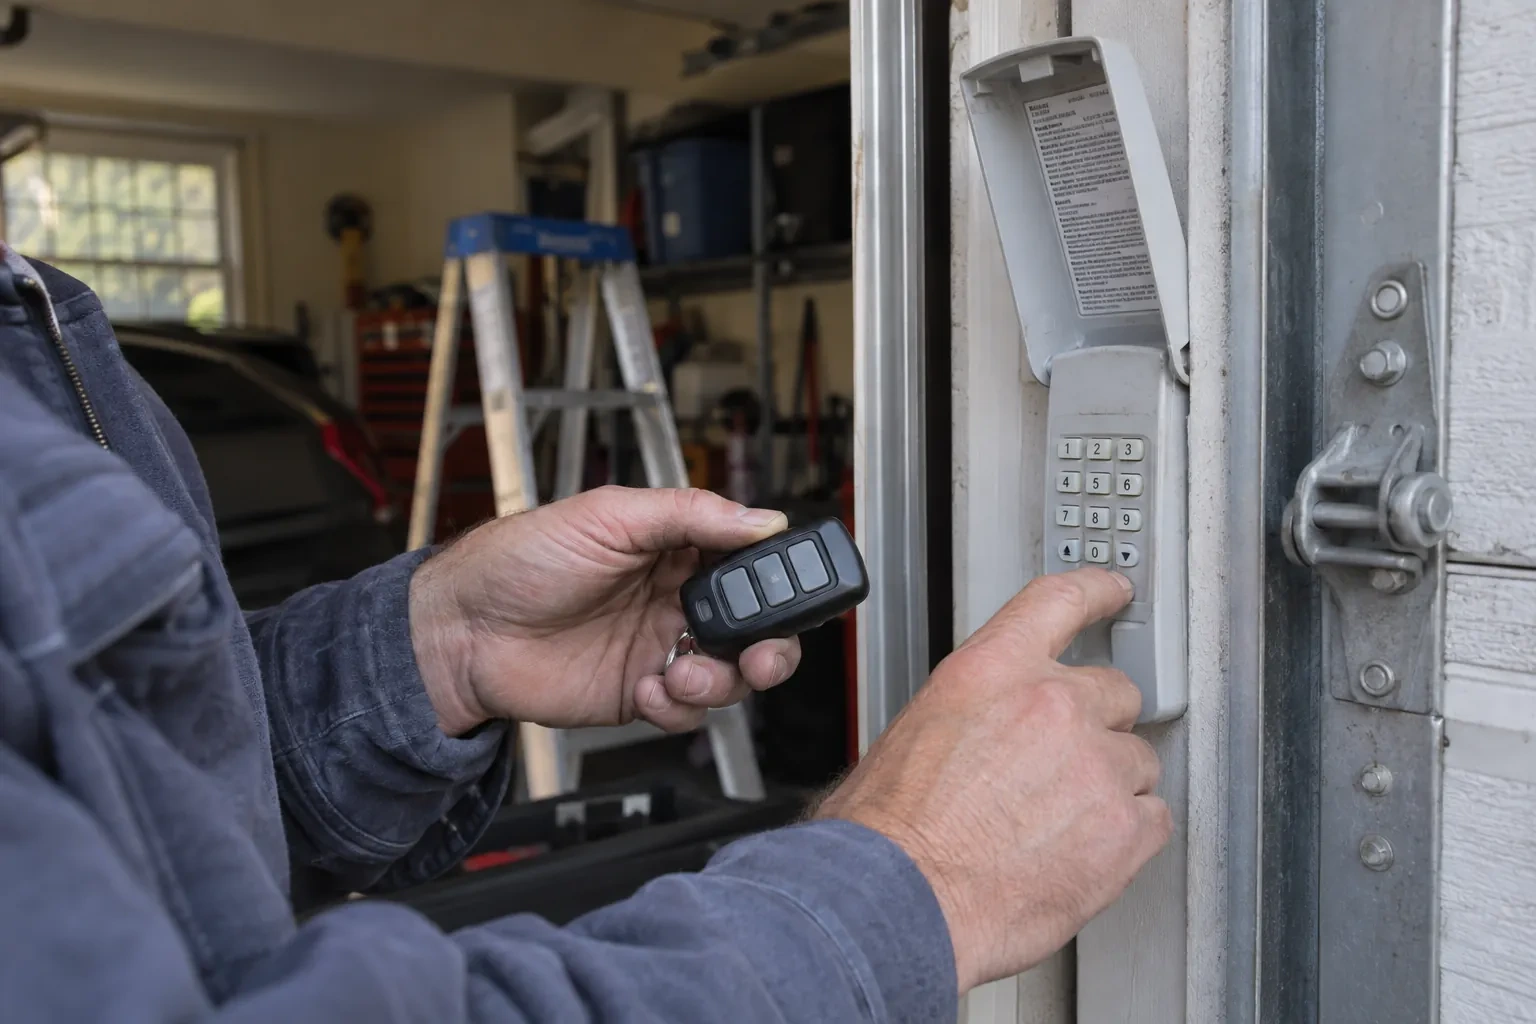
- Would you like a keypad outside, phone control, a camera or battery backup?
- How much room is there between the top of the open door and the ceiling?
Garage Door Opener Replacement: questions
QuestionsHow should I prepare the garage before the visit?
Move vehicles out onto the driveway, bring any car that needs its built-in buttons programmed, and clear the floor under the door's path and the area beneath the old opener and rail so ladders can stand safely. Take bikes and boxes off shelves that hang near the ceiling line. Know where the electrical panel is, and have the phones that will use the app on hand with your Wi-Fi password.
Should an opener from before the mid-1990s be replaced rather than repaired?
Manufacturers recommend replacing units made before 1993, since most lacked external entrapment protection such as a photo-eye pair, a sensing edge or a constant-contact close control. Identify the model rather than guessing its age or remote type, since a fixed-code remote with small switches is not proof by itself. Replacing rather than repairing brings the sensor beam, a contact-sensitive force setting, remotes whose code changes on every press and a console lock button.
The door is frozen to the floor. Why does the opener reverse?
Because the operator is protecting the door. Its force setting is tuned to the small effort a balanced door needs, so a seal glued to the concrete by ice registers as an obstruction and the door heads back up rather than ripping the rubber or bowing the top panel. Loosen the seal with a plastic scraper or a hair dryer along the sill, then try again; a shovelled threshold before a cold night keeps it from recurring.
Related services
- Chain-Drive Opener RepairThe door opens about a third of the way and stops.
- Belt-Drive Opener RepairIt is minus twenty in the detached garage and the door climbs in jerks, the belt stiff as a board.
- Photo-Eye Sensor Alignment or ReplacementAfter a cold night the door stays open until the garage warms up.