Repairs · Elmira
Garage Door Bottom Seal Replacement in Elmira
Every mild afternoon the snow melts off the car, runs to the door, and by morning the rubber strip along the bottom is frozen to the concrete.
In plain words
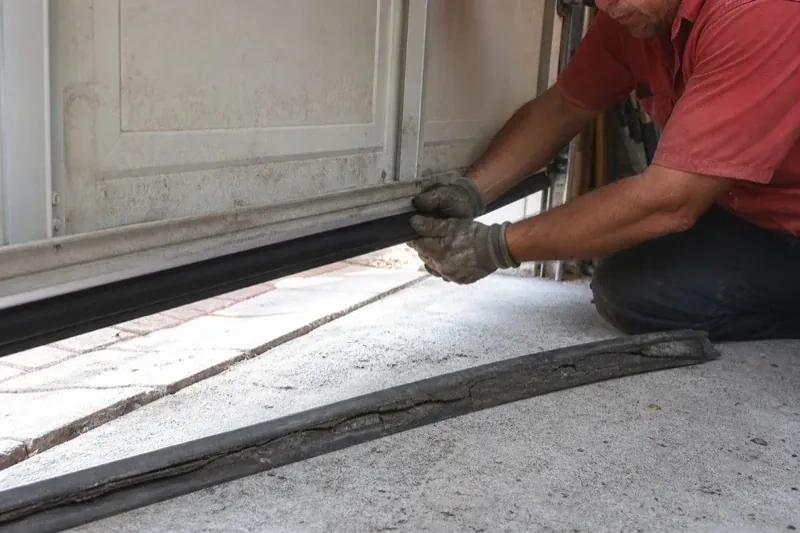
In this climate the bottom seal lives a hard life. Meltwater from the car pools at the threshold and freezes the seal to the slab, and the next press of the remote tears it or drags it out of its channel. Road salt stiffens the vinyl and eats the aluminum retainer; deep cold turns a supple strip rigid. Replacement puts a cold-rated profile on a sound retainer, sized to meet the floor without over-compressing, and the technician shows how a wipe of silicone each autumn and a clear threshold keep the new strip from bonding to the ice. The door closes softly onto rubber again, not onto a frozen ridge.
How the visit goesAfter a spring rain there is a puddle inside the door that reaches the tires. The driveway slopes toward the garage, the slab has a low corner, and the flattened old seal is not making up the difference.
Garage Door Bottom Seal Replacement
How the visit goes
Reading the gap with the door closed
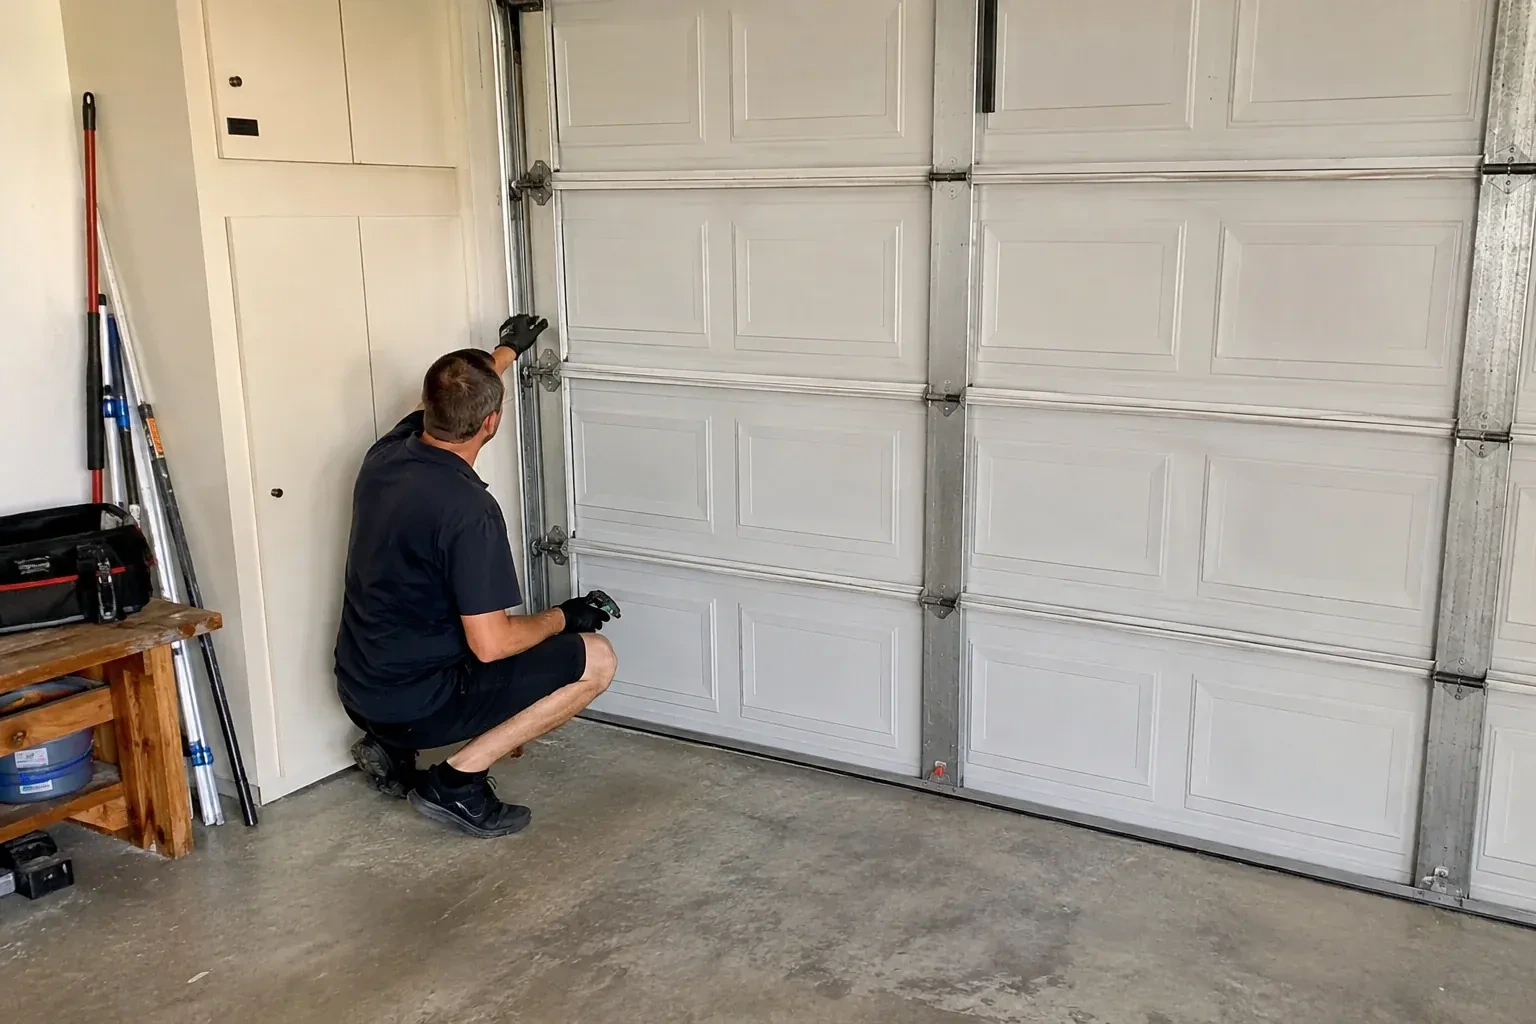
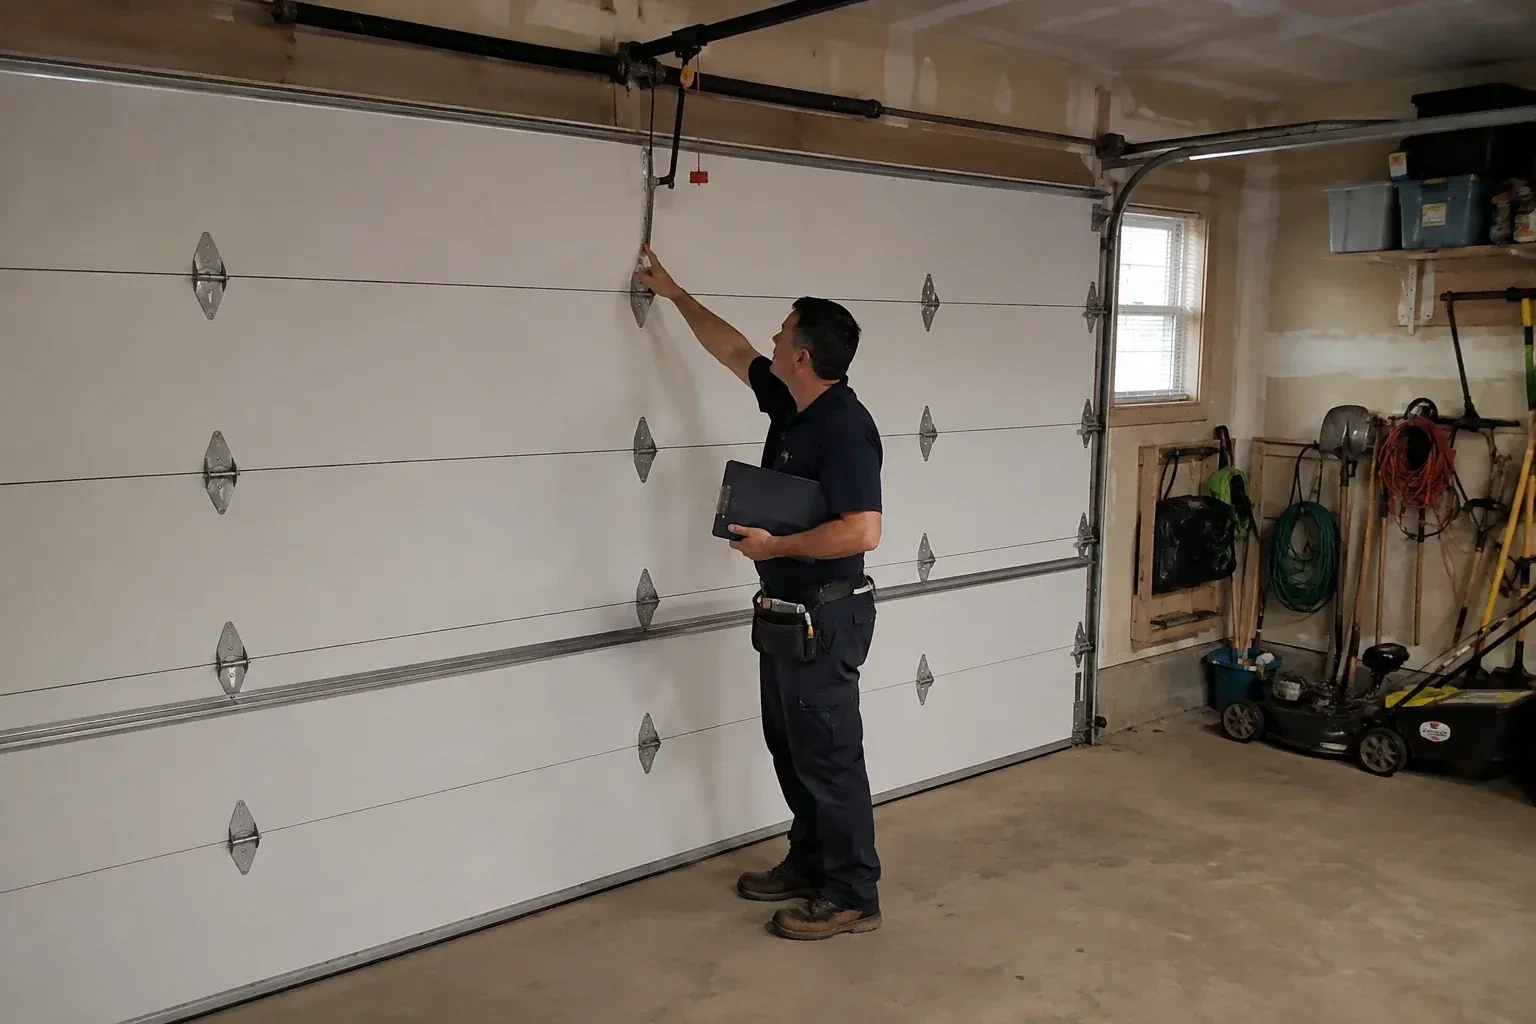
The assessment starts with the lights off and the door down. From inside, the technician looks along the floor line for daylight and notes where it shows: a thin line the full width, a wedge at one corner, or a patch in the middle. A straightedge laid across the threshold shows whether the slab is flat or dished, and a hand run along the seal feels where it touches and where it hovers. Photographs of the worst spots are taken so you can see what is being fixed. This map of the gap tells the technician how tall the new seal needs to be and whether anything other than the seal is contributing.
Closing the door onto the new seal
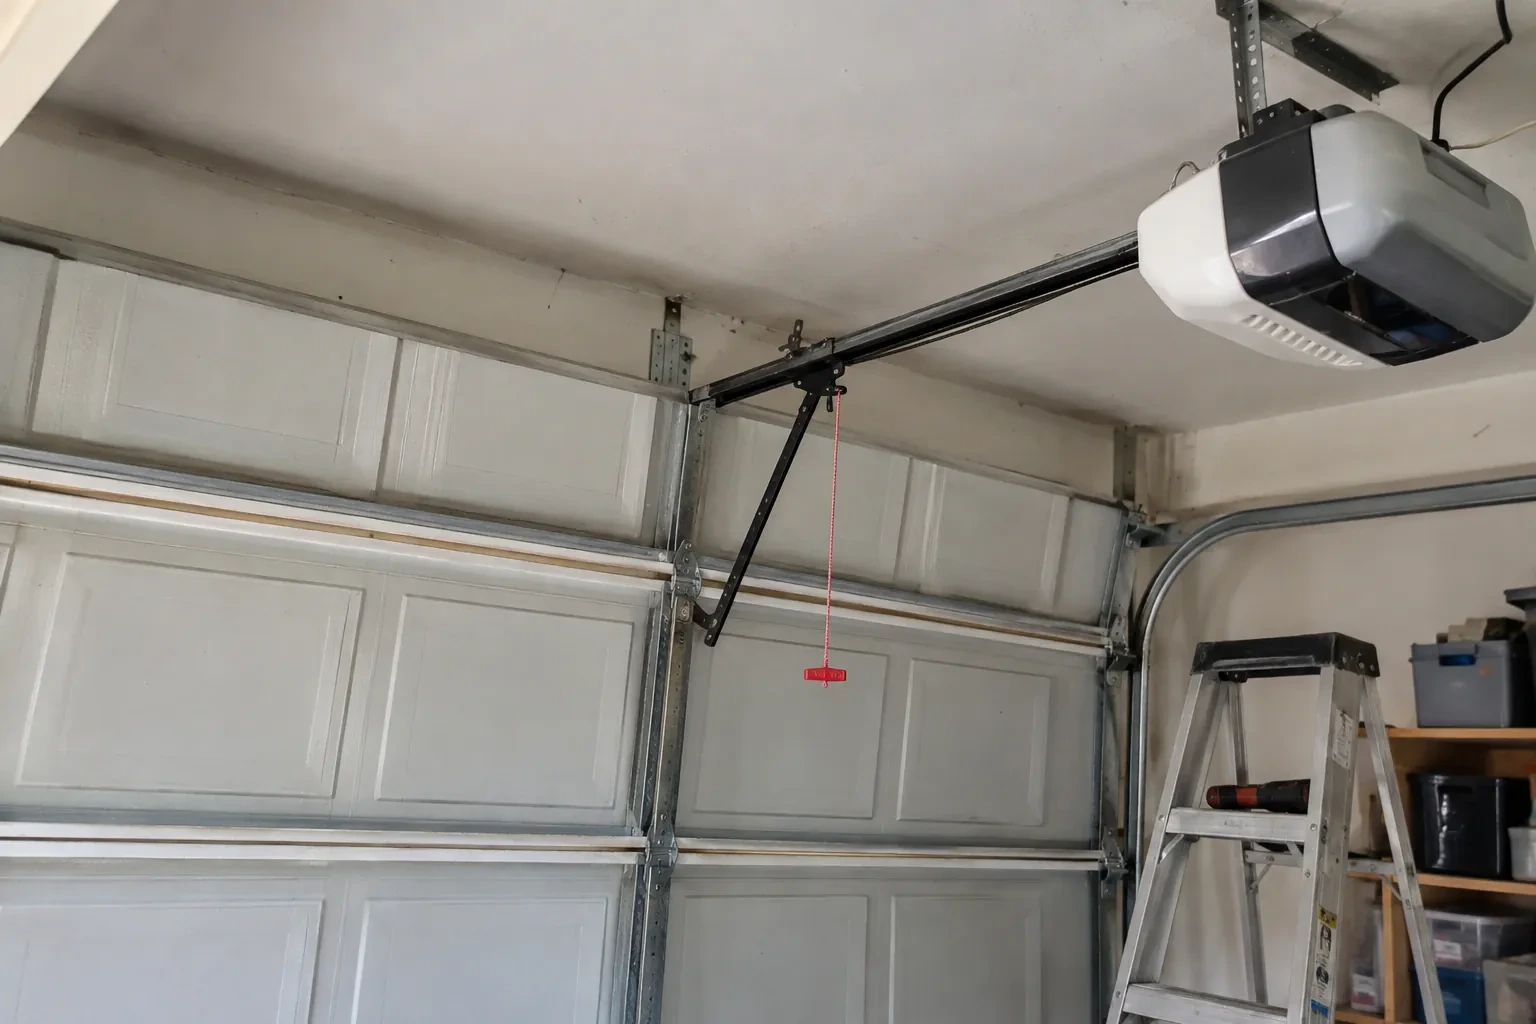
The clamps come off, the opener is reconnected, and the door is run closed under power while the technician watches the bottom edge meet the floor. The down limit is adjusted so the seal compresses gently along its full length without the section bowing, and the force setting is checked so the door settles onto the new, taller strip without reversing. From inside with the lights off, the floor line is checked again for daylight. The reversing test with a 38 mm (1.5 in) solid object, or a 2x4 laid flat under the door, and the photo-eye test finish the visit, and you are shown the door closing before the ladder is packed.
A clear threshold through winter
The seal closes onto whatever is on the floor, so the threshold deserves a moment when you clear the driveway. Push packed snow and the ridge of ice that forms where the door meets the slab away from the opening before running the door, and sweep salt piles and grit clear of the line so they are not ground into the strip. Park a little further in, if the garage allows, so drips from the car fall on the floor rather than at the seal. These are the same habits that protect the bottom brackets and cables in the corners.
Garage Door Bottom Seal Replacement
In the van
Bead-style bottom seal
Track clamps
Aluminum bottom seal retainer
Threshold seal and adhesive
Nail-on vinyl strip for wood doors
Garage Door Bottom Seal Replacement
What affects the quote
Seal profile and size
T-style, bead and bulb profiles in different widths and heights sit at different points on the parts list, and the retainer on your door decides which one is used.
Wood door nail-on strip
A wood door with a nailed strip takes a different product and more fastening time than a channel seal, and adding a retainer to a wood rail is a further option to consider.
Door width
A single door takes a shorter length of seal than a double, and the widest doors need more time to feed the strip evenly across. The quote starts from the width measured on the day.
What to have ready
- Is the old seal hard and cracked, torn, hanging loose, or missing?
- Is the door steel, wood, or insulated with a plastic bottom cap?
- Is the door a single or a double, and roughly how wide?
Garage Door Bottom Seal Replacement: questions
QuestionsShould the side and top weatherstripping be replaced at the same time?
It is worth having them looked at while the technician is there. The vinyl fin on the stop moulding around the jambs and header shrinks, tears and hardens on the same schedule as the bottom seal, and a draft that survives a new bottom seal usually comes from the sides. Doing the perimeter in the same visit saves a return trip and leaves the door sealed on all four edges.
How long should I allow for the work?
Plan on an hour or two for a straightforward replacement on a standard door, including the inspection and the opener reset. A retainer replacement, a hardened seal that has to come out in pieces, a wood door with a nail-on strip or the addition of a threshold seal each add time. The technician will give you a realistic window once the door has been looked at.
Is this something I can do myself?
Many homeowners do, and a technician's value lies in the parts that go wrong: identifying the exact profile so the seal seats, freeing a strip that has fused into its channel, spotting a retainer or door-level problem behind the gap, and resetting the opener's limit and force so the door lands gently and still reverses on an obstruction. If you would rather have it measured, fitted and tested in one go, that is what the visit is for.
Related services
- Garage Door Tune-UpThe door lands with a thud you can feel through the kitchen floor, and sometimes it bounces back up a few centimetres before settling.
- Off-Track Garage Door ResetYour car is inside and the door is stuck crooked across the opening.
- Garage Door Panel ReplacementA stray ball went through one of the window panes in the top section.